Email automation is a powerful tool that enables you to send targeted emails to individual customers, saving you time and effort in managing your email marketing campaigns. With Mailercloud's email automation, you can deliver relevant and personalized emails to each customer, maximizing engagement and conversion.
Before diving into email automation, make sure you have the following in place:
Create a Contact List: Set up a contact list with the relevant email addresses of your audience.
Understand Your Audience: Gain a clear understanding of your target audience, including their preferences and interests.
Segment Your Audience: Segment your audience based on specific criteria such as demographics, interests, or purchase history. This allows you to tailor your email automation to different customer segments.
Create a Webform: If you plan to capture new contacts through webforms, create the necessary webforms to collect their information.
Prepare Email Content for the Automation Series: Craft engaging and relevant email content for your automation series. Consider the sequence and timing of the emails to ensure a cohesive and effective campaign.
Log in to your Mailercloud account.
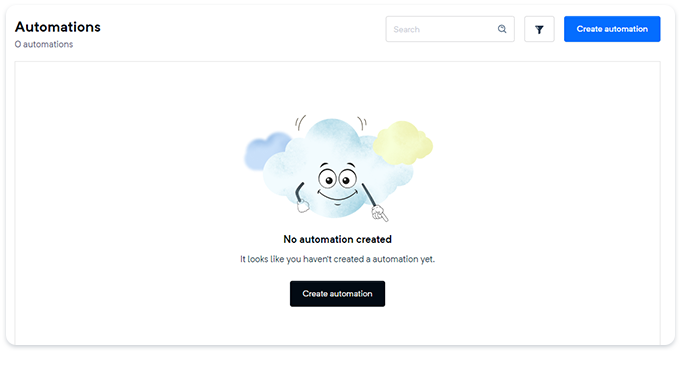
Hover over the left side of your dashboard and select "Automation."
Click on "Create Automation" from the page that appears.
Enter the details for your automation, including the name of the automation.
Select your target audience. You can choose from lists, segments, or webforms to define the recipients of your automation.
Lists: You can apply automation to up to 150 lists, including new and existing contacts.
Segments: You can apply automation to one segmentation list, consisting of existing contacts.
Webforms: You can apply automation to up to 150 webforms, targeting new contacts.
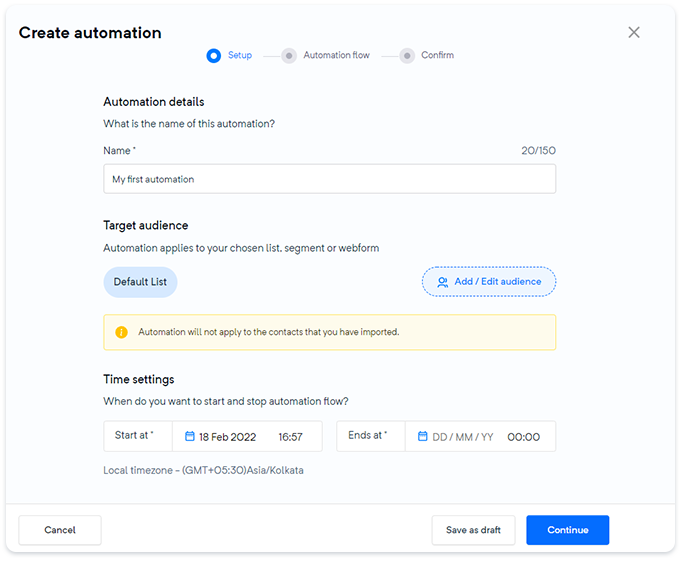
Set the start and end times for your automation series.
Click "Continue."
Create the first email campaign in your automation series, also known as the Starting Sequence. Note that the first delay will be applied to new contacts only. If you want to set up delays for existing contacts, adjust the start date of the automation accordingly.
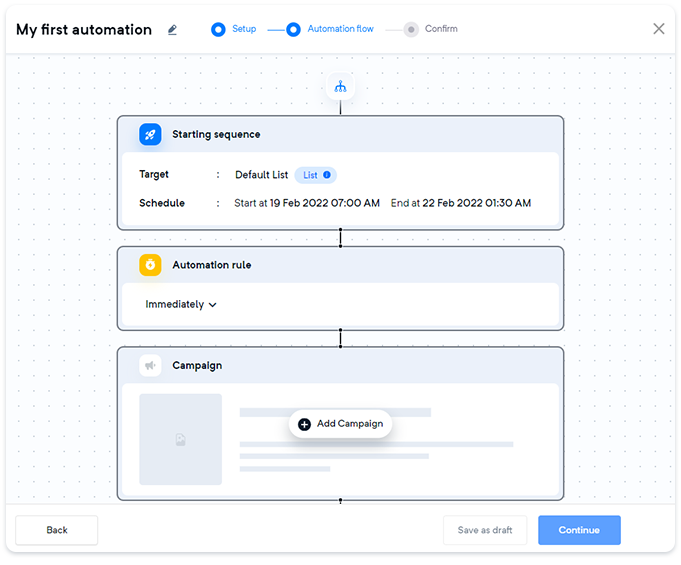
Click "Add Campaign."
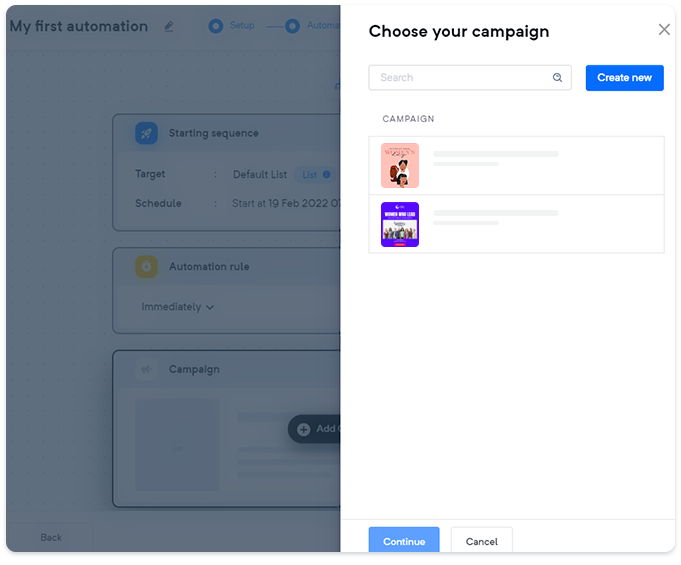
Select "Create Campaign."
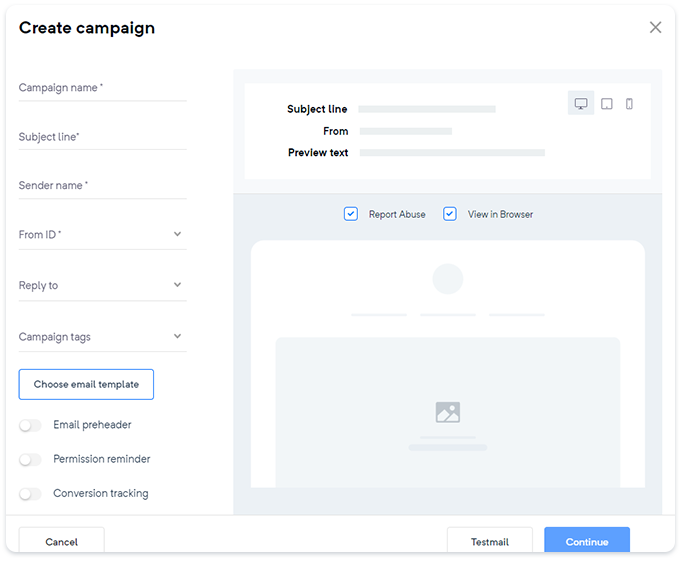
Provide a campaign name and add a subject line.
Enter the sender's name.
Select valid and verified From ID and reply ID.
Add a campaign tag to categorize your contacts based on their interests.
Customize your email with preheaders and permission reminders.
Choose a template from the Template Gallery or create a new one using the Drag and Drop editor.
Click "Continue."
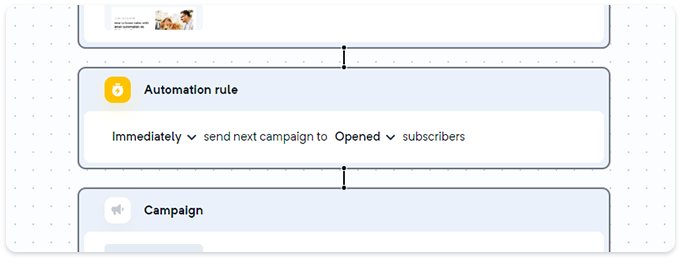
Select the automation rule that determines the trigger for your emails in the series.
Opened: This trigger is activated when a customer opens one of your emails in the series. You can send the following email immediately or specify a waiting period of days before sending the following email.
Not opened: This trigger is activated when one of your emails remains unnoticed in your customer's inbox. The following email can be set to wait for a default period of 1 day, or you can specify the number of days before sending it.
Clicked: This trigger is activated when a customer clicks on a link in one of your emails in the series.
Not clicked: This trigger is activated when one of your emails is opened by the customer, but no clicks are registered.
If you want to send emails to everyone in your automation, select the "All" option."
After applying the automation rule and adding email content for all the emails in the automation series, click "Continue" and then "Publish."
Note: To ensure the proper functioning of automation, having an adequate number of contacts within your current subscription plan is vital. It is important to note that automation will only be applied to the number of contacts that are available under your subscription plan.
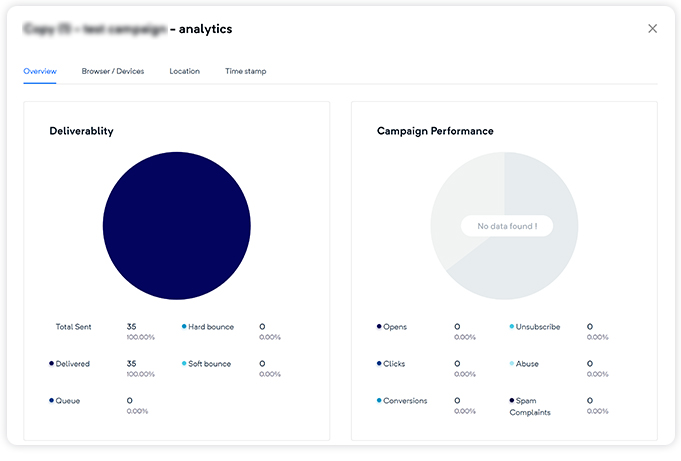
Mailercloud provides valuable insights into the deliverability and engagement of your automation, as well as detailed campaign reports.
Track delivered emails, queued emails, hard bounces, and soft bounces within your automation series.
Measure engagement metrics such as open rates, click rates, spam complaints, abuse reports, and unsubscribes.
Access real-time campaign-wise reports based on deliverability and overall campaign performance.

Here are some additional options to enhance your email automation experience in Mailercloud:
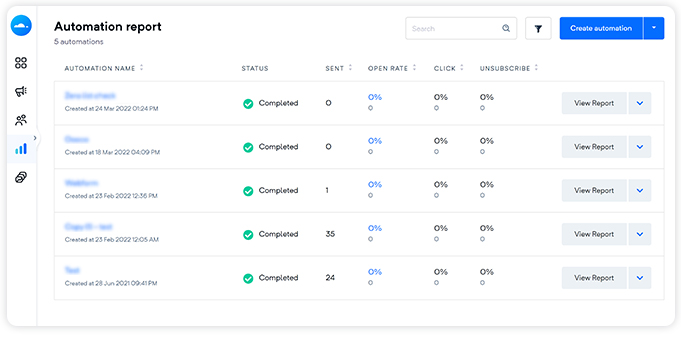
Filter automations based on date, automation status, or automation name.
Send a test email of the created automation directly from the automation list page.
Duplicate an existing automation for quick setup.
Deactivate an ongoing campaign and reactivate it when needed.
By following these instructions and utilizing the additional options, you'll be able to effectively set up and manage your email automation in Mailercloud. If you have any further questions or need assistance, our support team is ready to help.