The Preference Center gives every recipient a branded page where they choose the email categories they want, set how often they hear from you, and manage their open-tracking consent — instead of unsubscribing from everything.
This guide covers how to set it up, add it to your campaigns, and use your subscribers' choices for targeting.
The editor shows a live preview of exactly what your subscribers will see. There are two editing steps at the top of the preview: Preference Page and Success page.
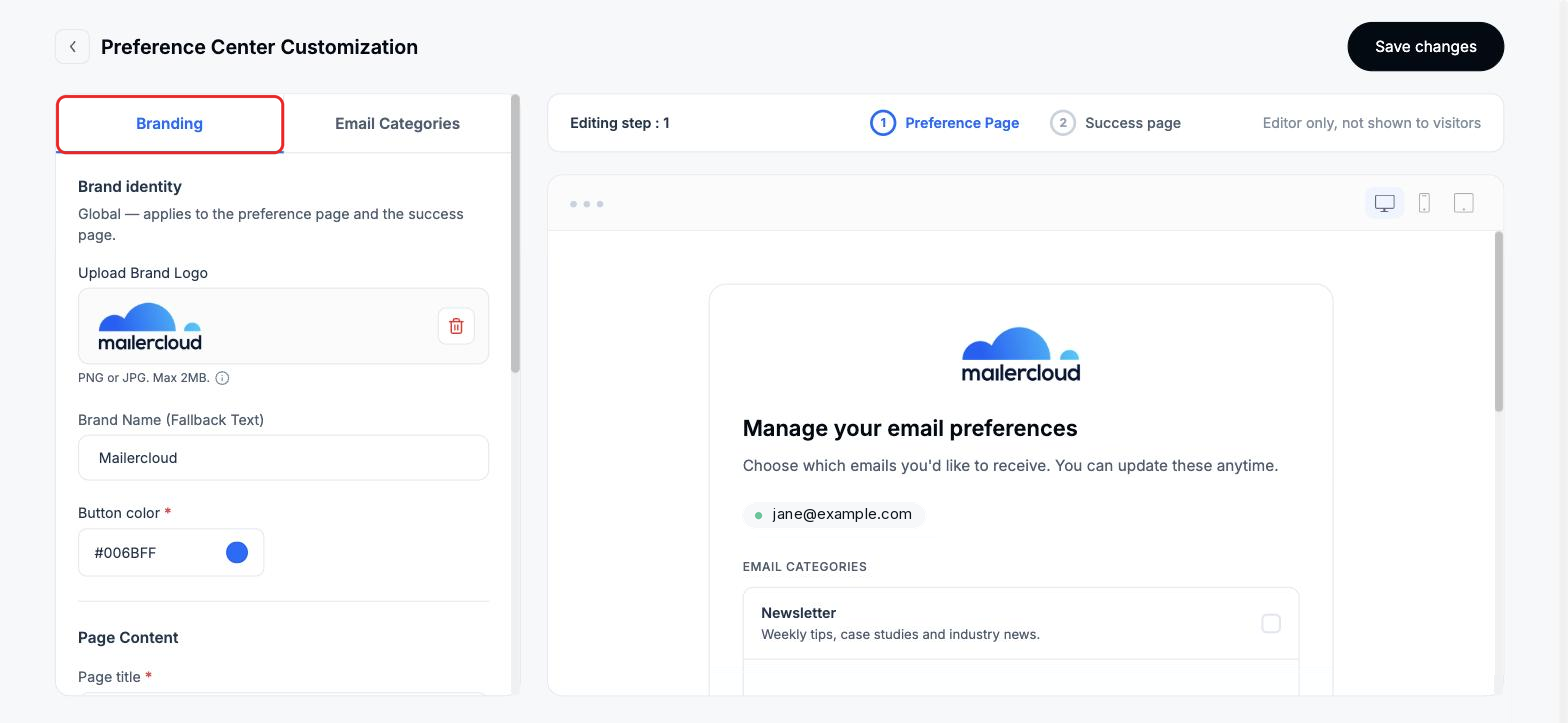
On the Branding tab, set up your brand identity:
Brand logo — upload a PNG or JPG, up to 2 MB.
Brand name — fallback text shown if no logo is available.
Button color — used for the buttons on your pages.
Branding is global — it applies to both the preference page and the success page. Under Page Content, edit the page title and intro message your subscribers see.
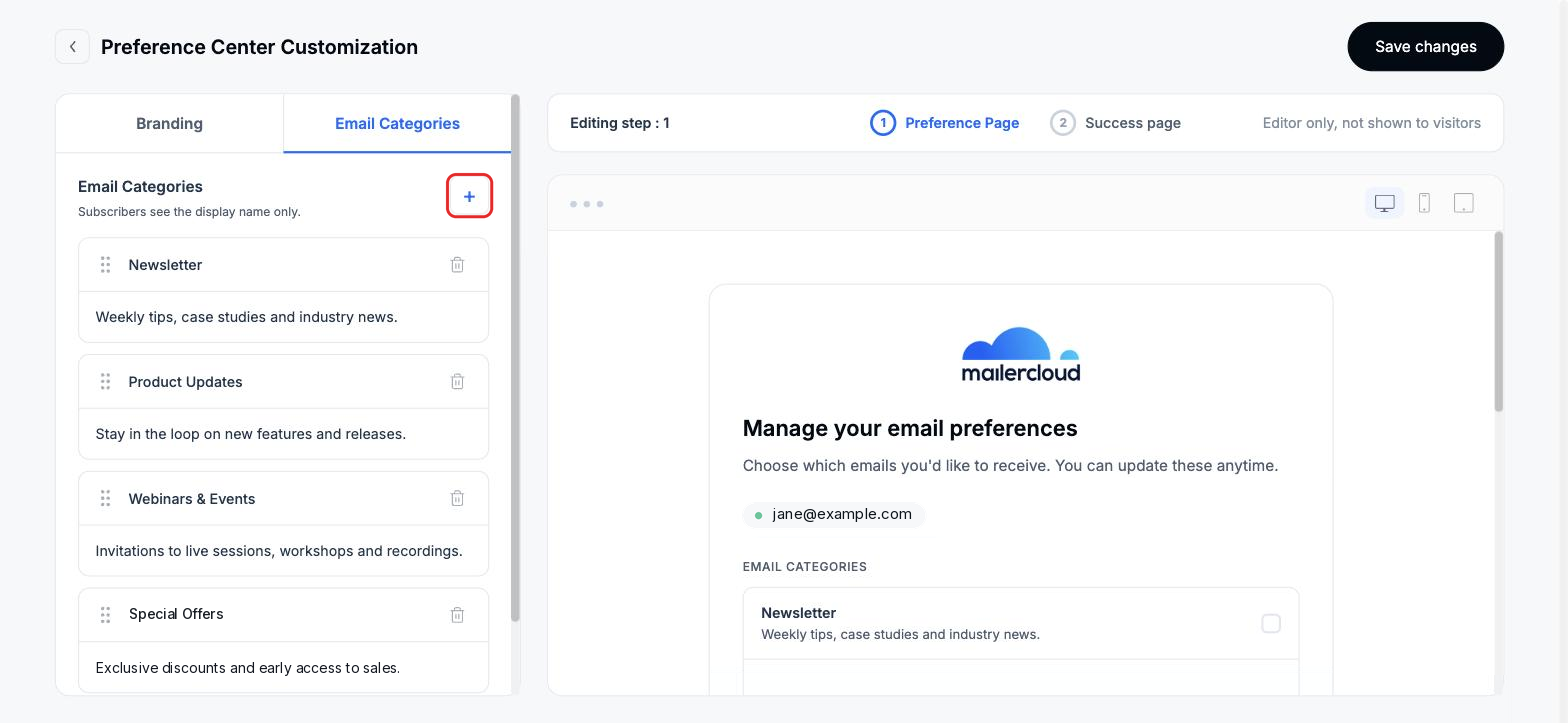
Open the Email Categories tab to manage the choices subscribers can make. Each category has a display name (what subscribers see) and a short description.
Add — click the + button. You can have up to 10 active categories.
Rename — change the name or description at any time. Subscribers' answers are kept.
Reorder — drag the handle. The page shows categories in this order.
Delete — click the bin icon. This archives the category, hides it from the page and frees a slot.
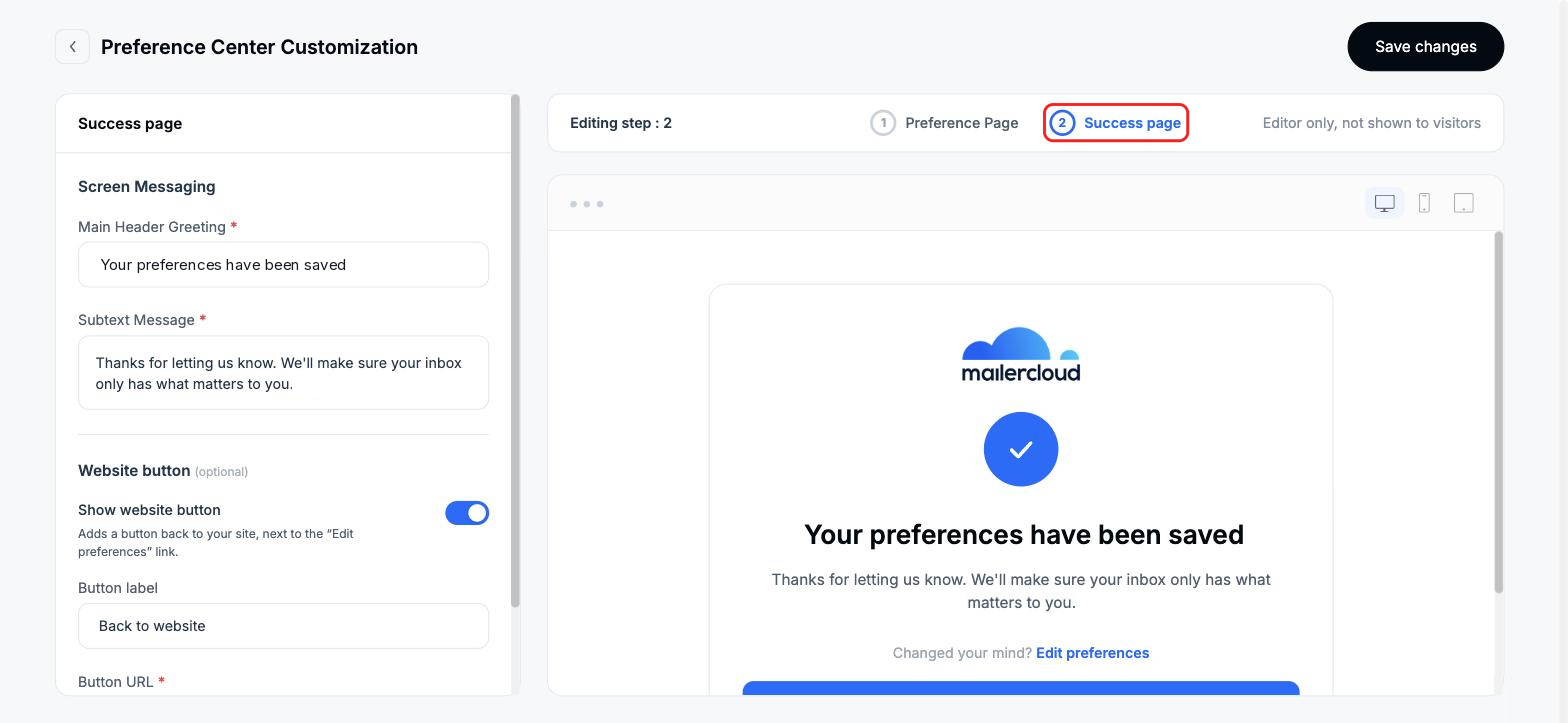
Click Success page at the top of the preview to edit what subscribers see after they save:
Main header greeting — the confirmation headline.
Subtext message — a short line under the headline.
Website button (optional) — switch on Show website button to add a Back to website button with your URL.
An Edit preferences link is always shown, so subscribers can change their mind.
When you're happy with the preview, click Save changes.
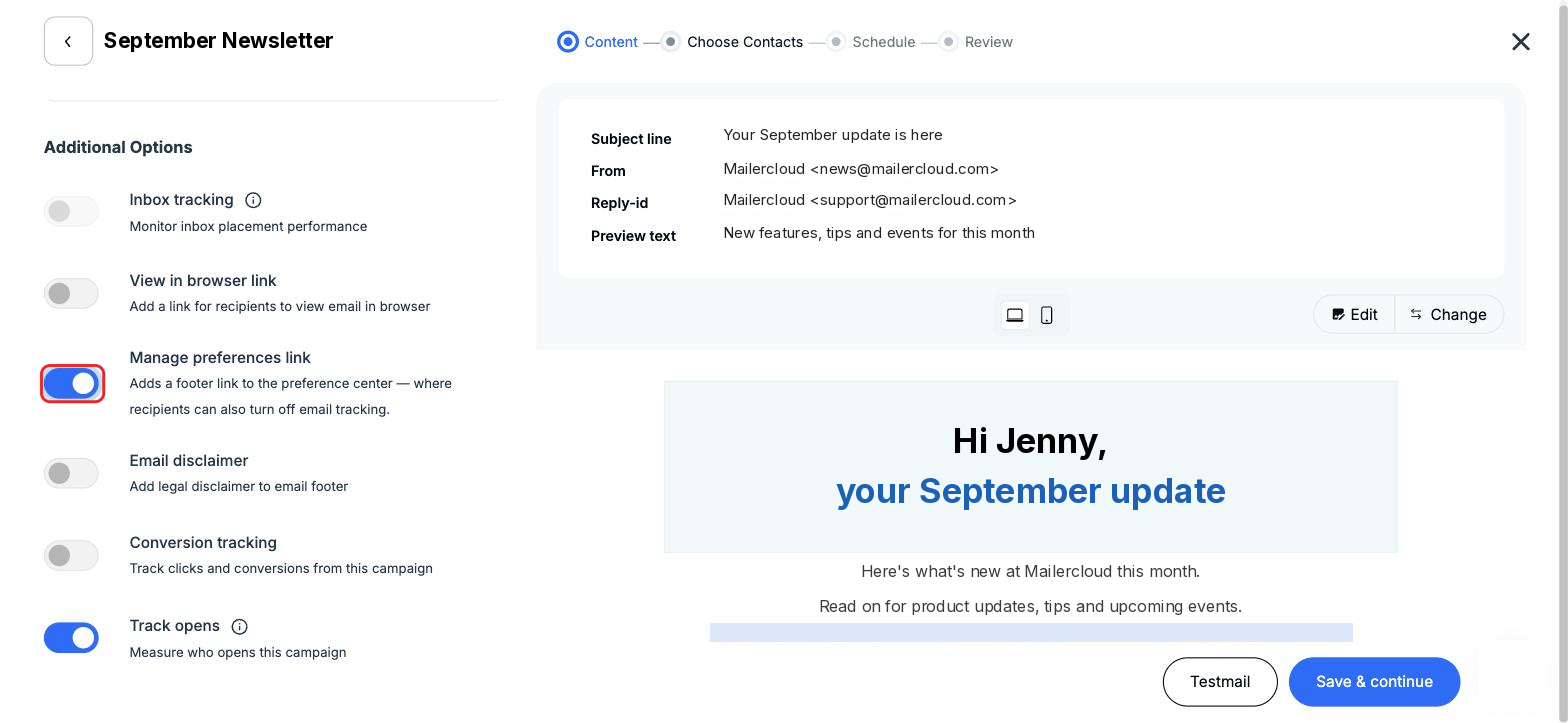
Switch on Manage preferences link. This adds a footer link to your Preference Center, where recipients can also turn off email tracking.
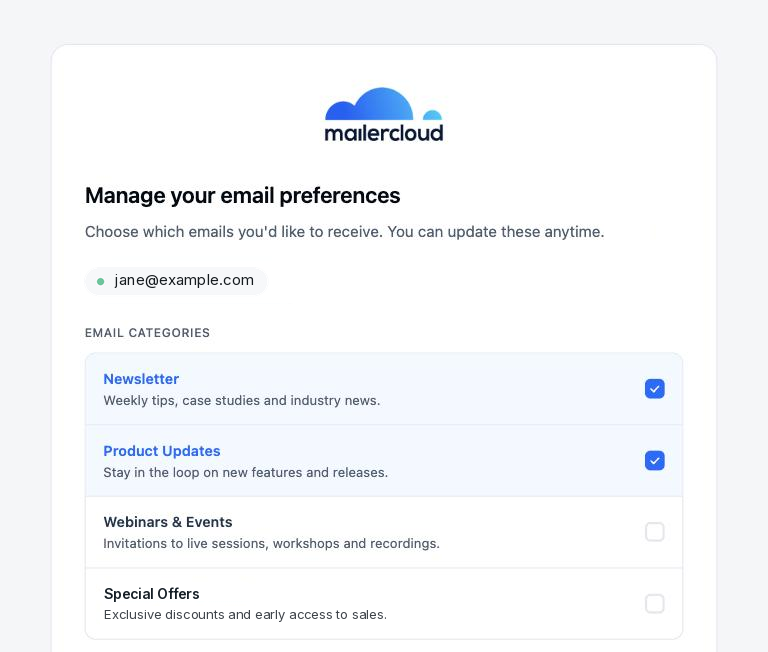
Clicking the footer link opens your branded page on your own tracking domain. Subscribers can:
Tick the email categories they want to receive.
Optionally pick an email frequency — Daily, Weekly digest or Monthly.
Manage the email-tracking consent checkbox.
Click save to confirm their choices.
If they open the link again later, their saved choices are shown, ready to update.
Everything subscribers choose becomes data you can target. Combine these filters with any other condition to send each category's content only to the people who asked for it.
Does choosing no categories unsubscribe a contact?
No. It means they have opted out of all categories. Unsubscribing is handled only by the Unsubscribe link.
How many categories can I have?
Up to 10 active categories. Archiving a category frees up a slot.
What happens to subscribers' answers if I rename a category?
They are kept. You can rename or re-describe a category at any time.
What if I haven't set up the Preference Center yet?
Your subscribers get a clean default page with standard categories, so the link always works.
Can subscribers change their choices later?
Yes. Reopening the link shows their saved choices, and the success page always includes an Edit preferences link.
If you have any questions about the Preference Center, reach out to our support team via live chat or email us at [email protected] — we're happy to help.
Happy emailing! 🚀