The Visual Builder lets you design a campaign email by typing, the way you write a document. You don't have to drag anything or write code. Your email works on desktop and mobile without any extra setup.
Go to Campaigns → Create campaign and fill in the subject line and sender details.
Click Choose template.
Select Visual Builder.
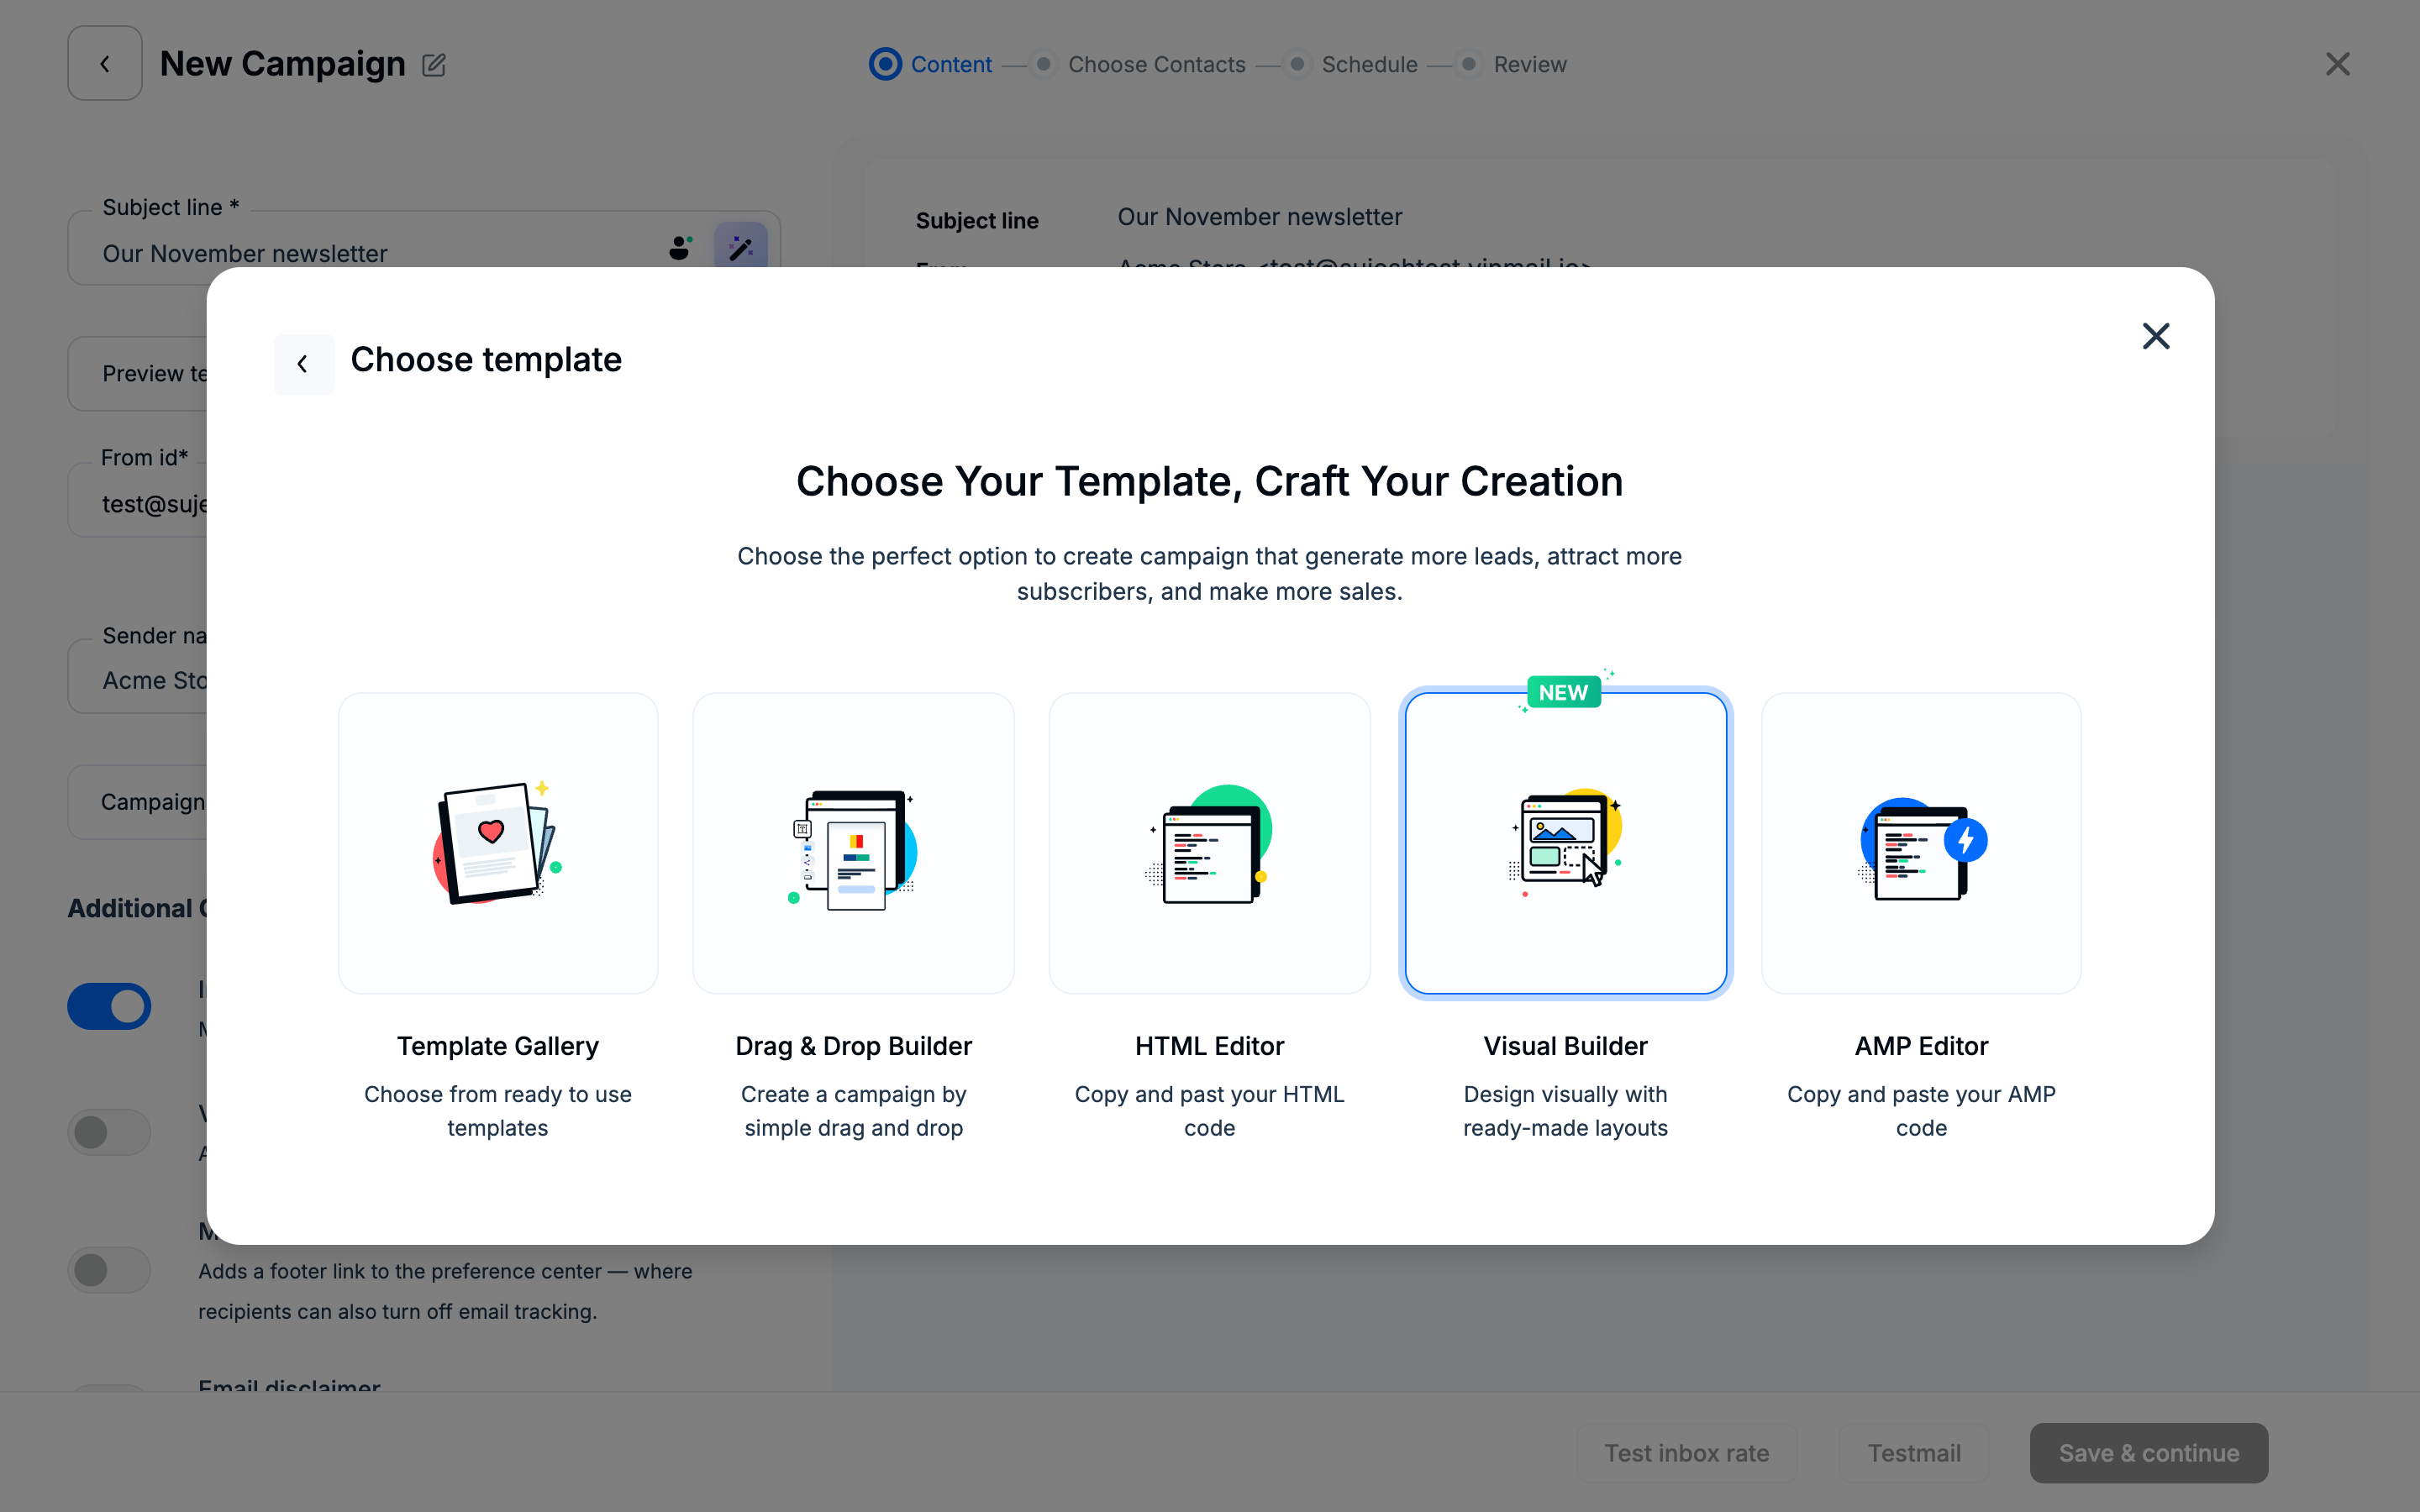
The builder opens in the same tab. To change an existing Visual Builder email later, click Edit on the campaign's content step.
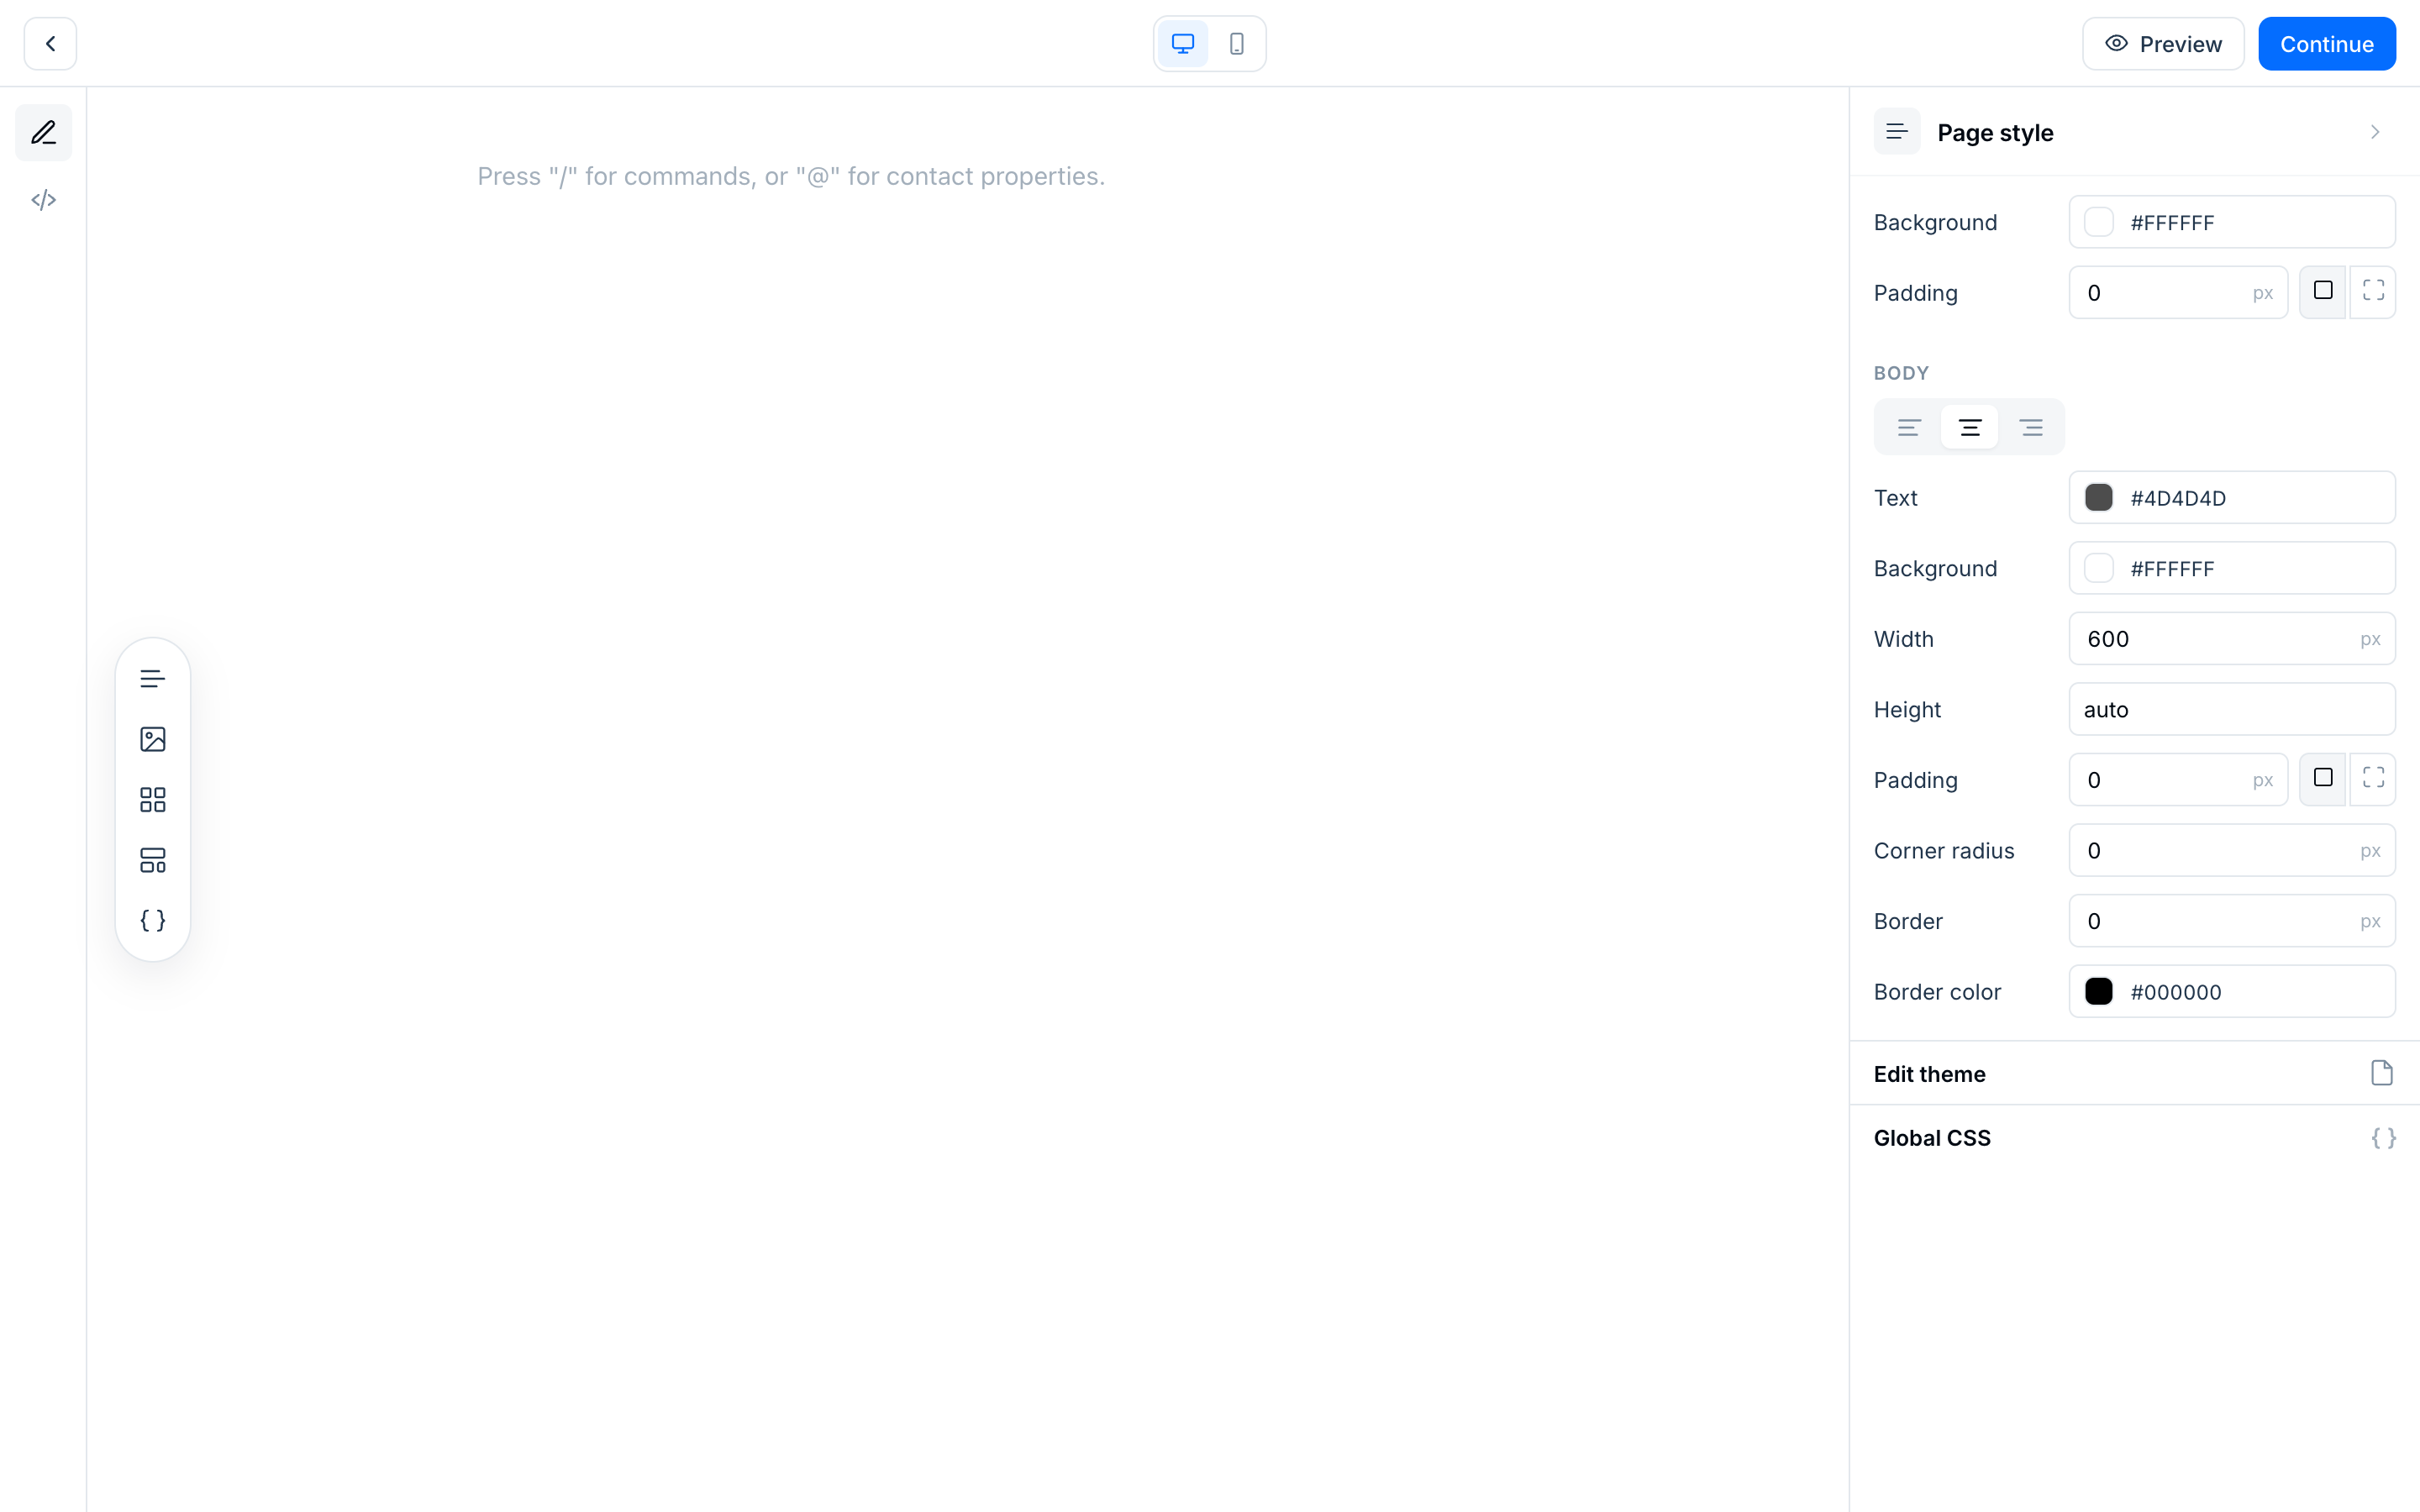
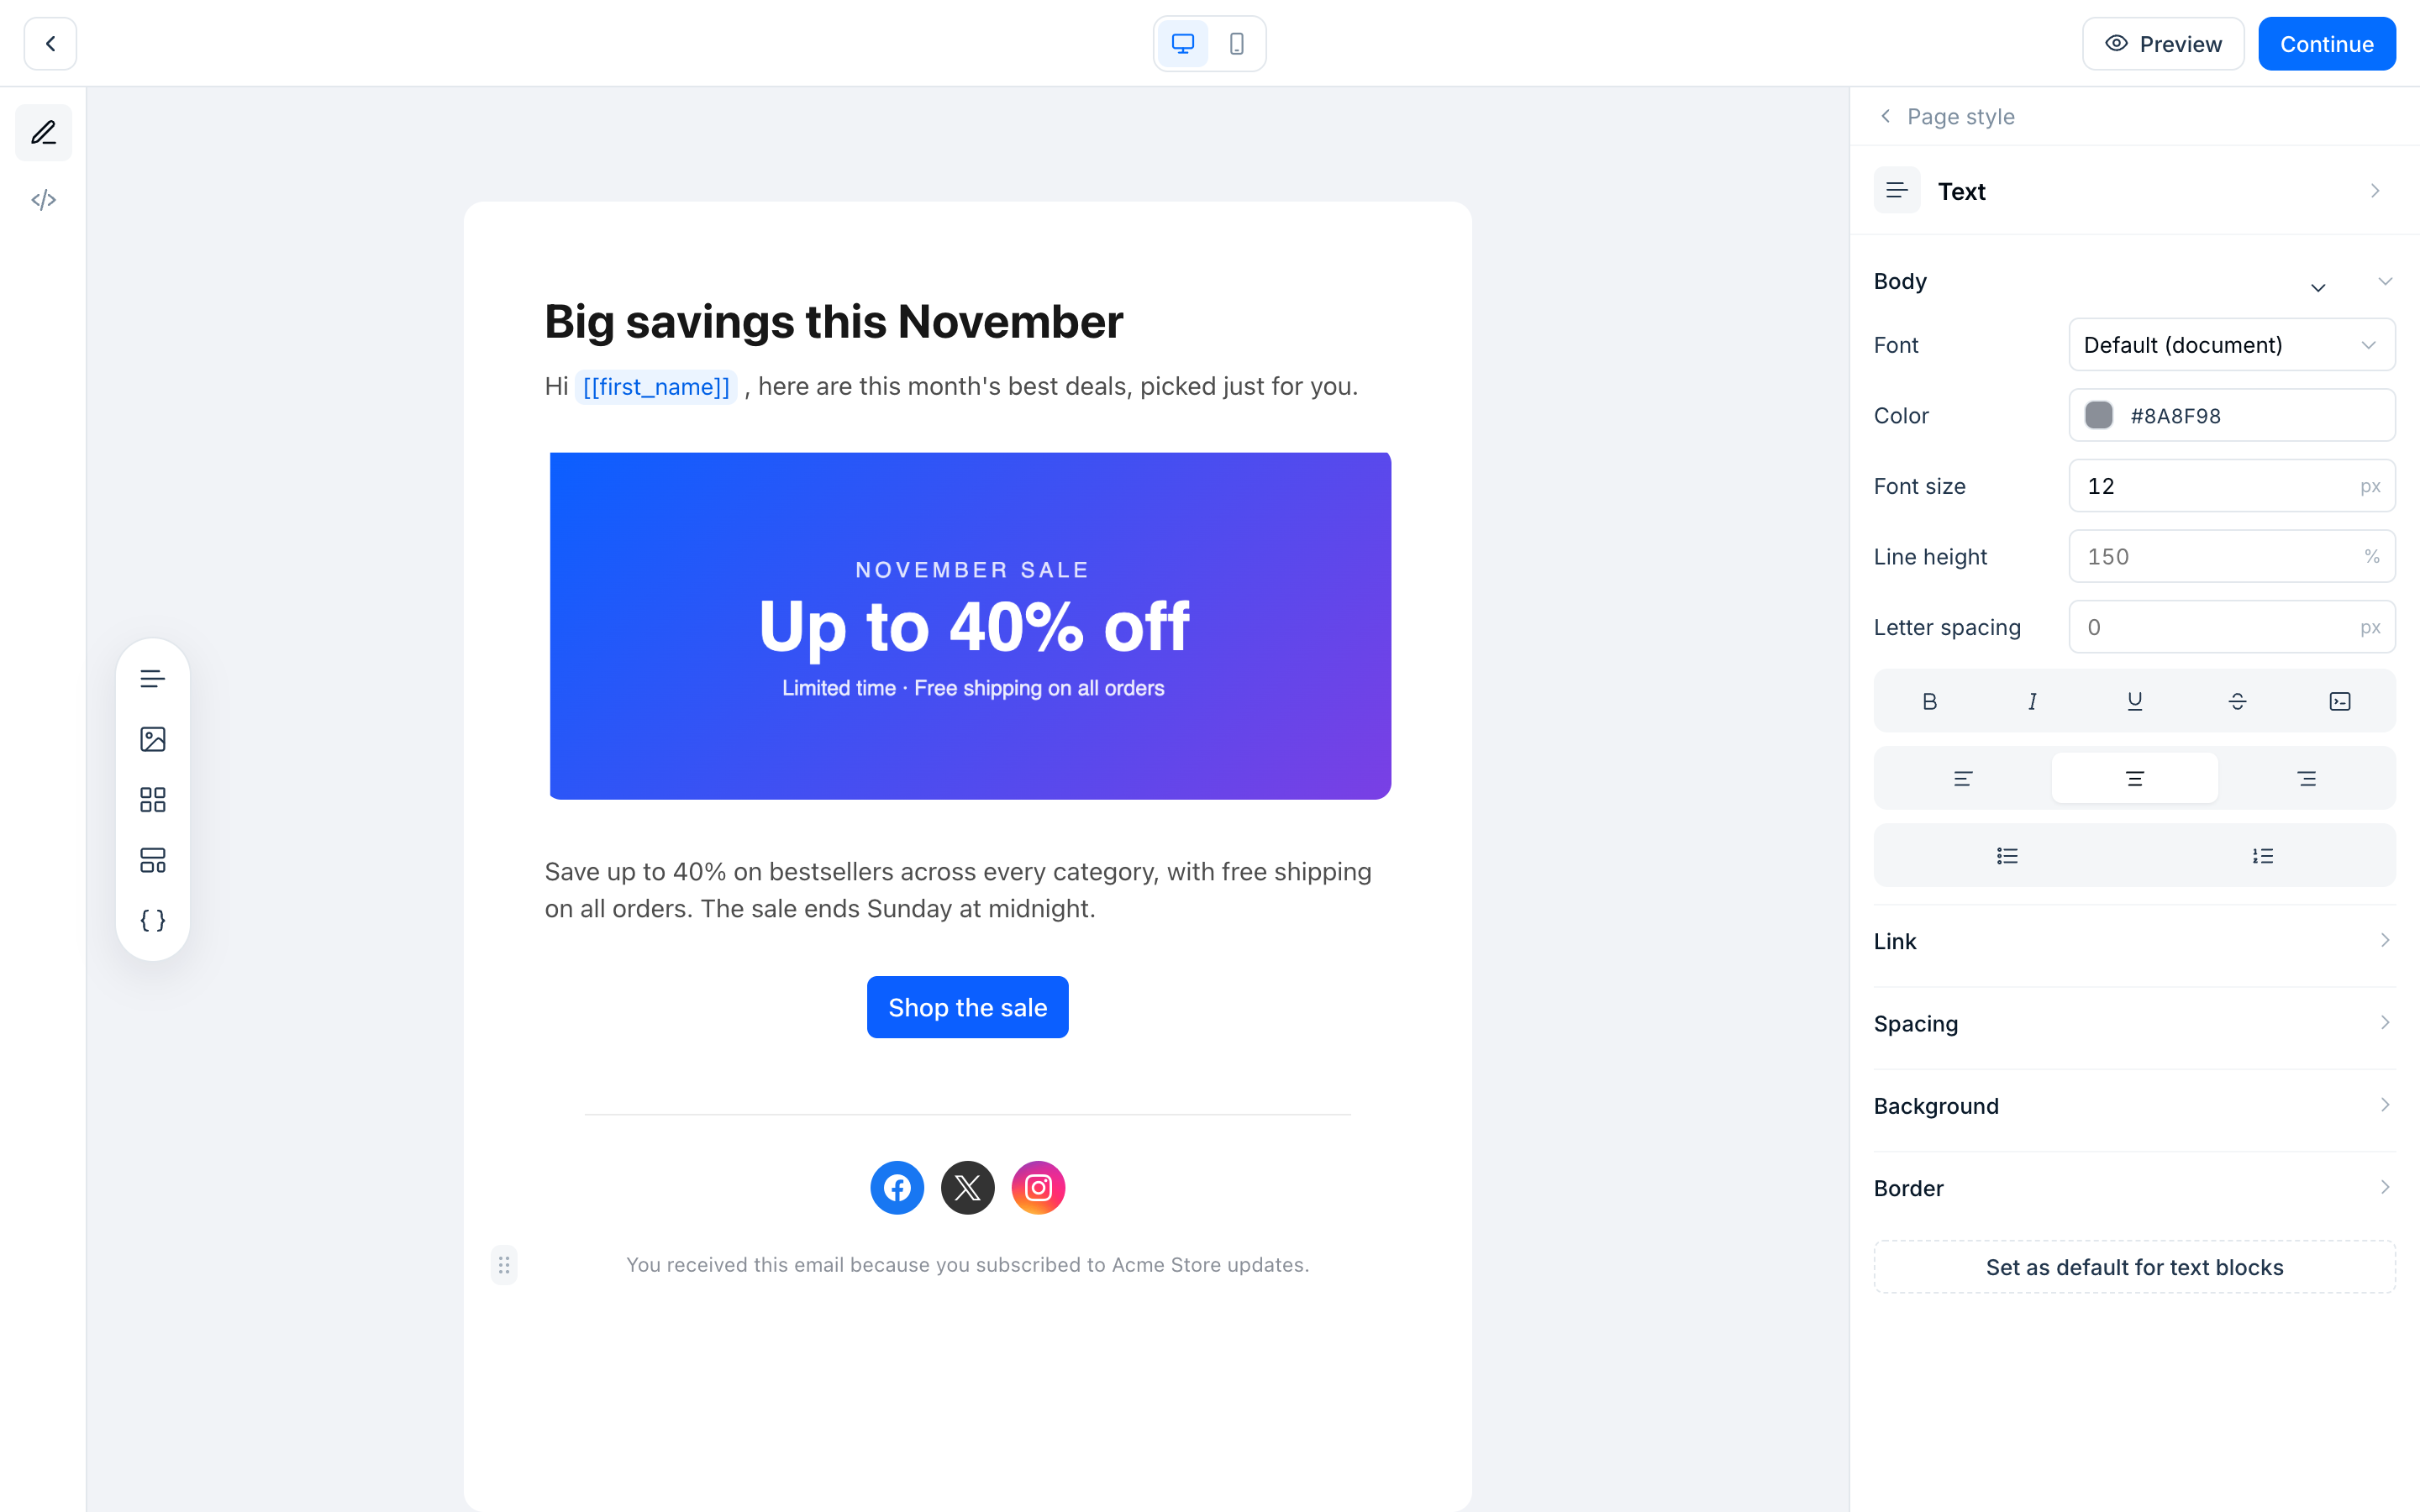
Top bar: Back, the desktop/mobile view toggle, Preview and Continue.
Left rail: the design view (pencil) and the code view (</>).
Floating toolbar: quick buttons to add text, image, social links, layouts and personalisation.
Canvas: your email. Click any block to edit it.
Right panel: settings for the selected block. With nothing selected, it shows Page style for the whole email.
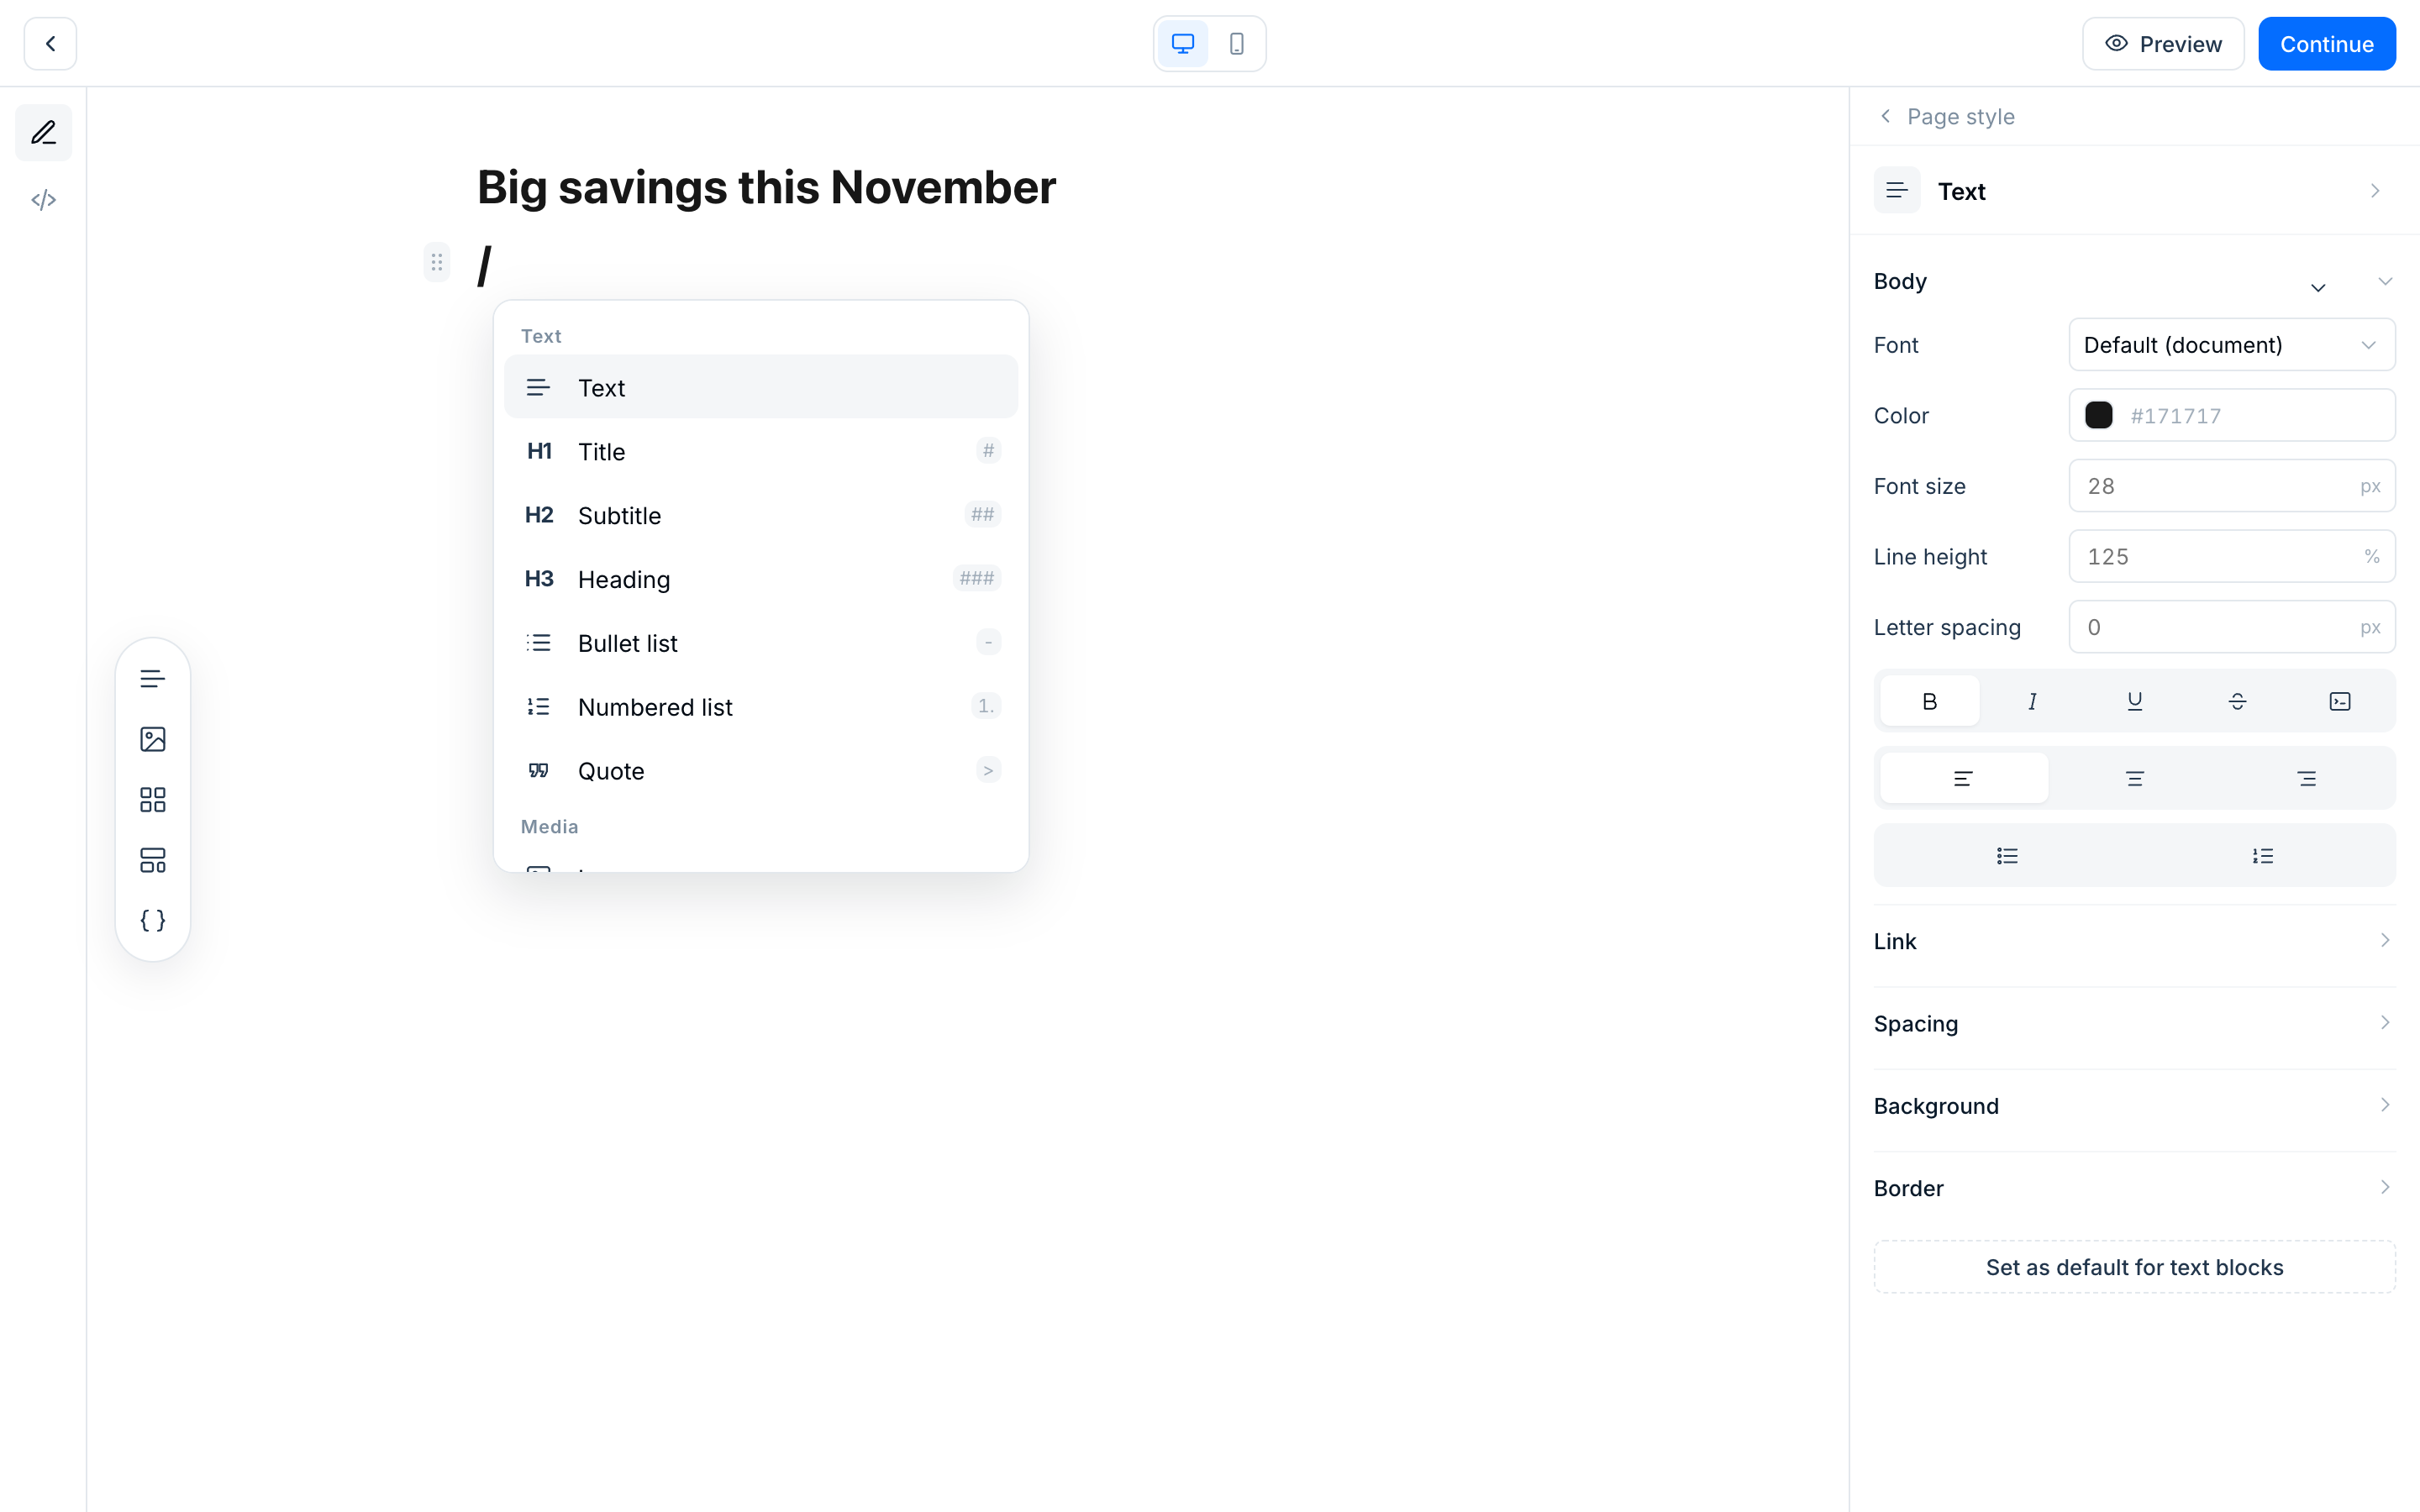
On an empty line, type / to open the block menu. Pick a block, or keep typing to filter the list. The menu includes Text, Title, Subtitle, Heading, bullet and numbered lists, Quote, Image, Button, Divider, Spacer and Social links.
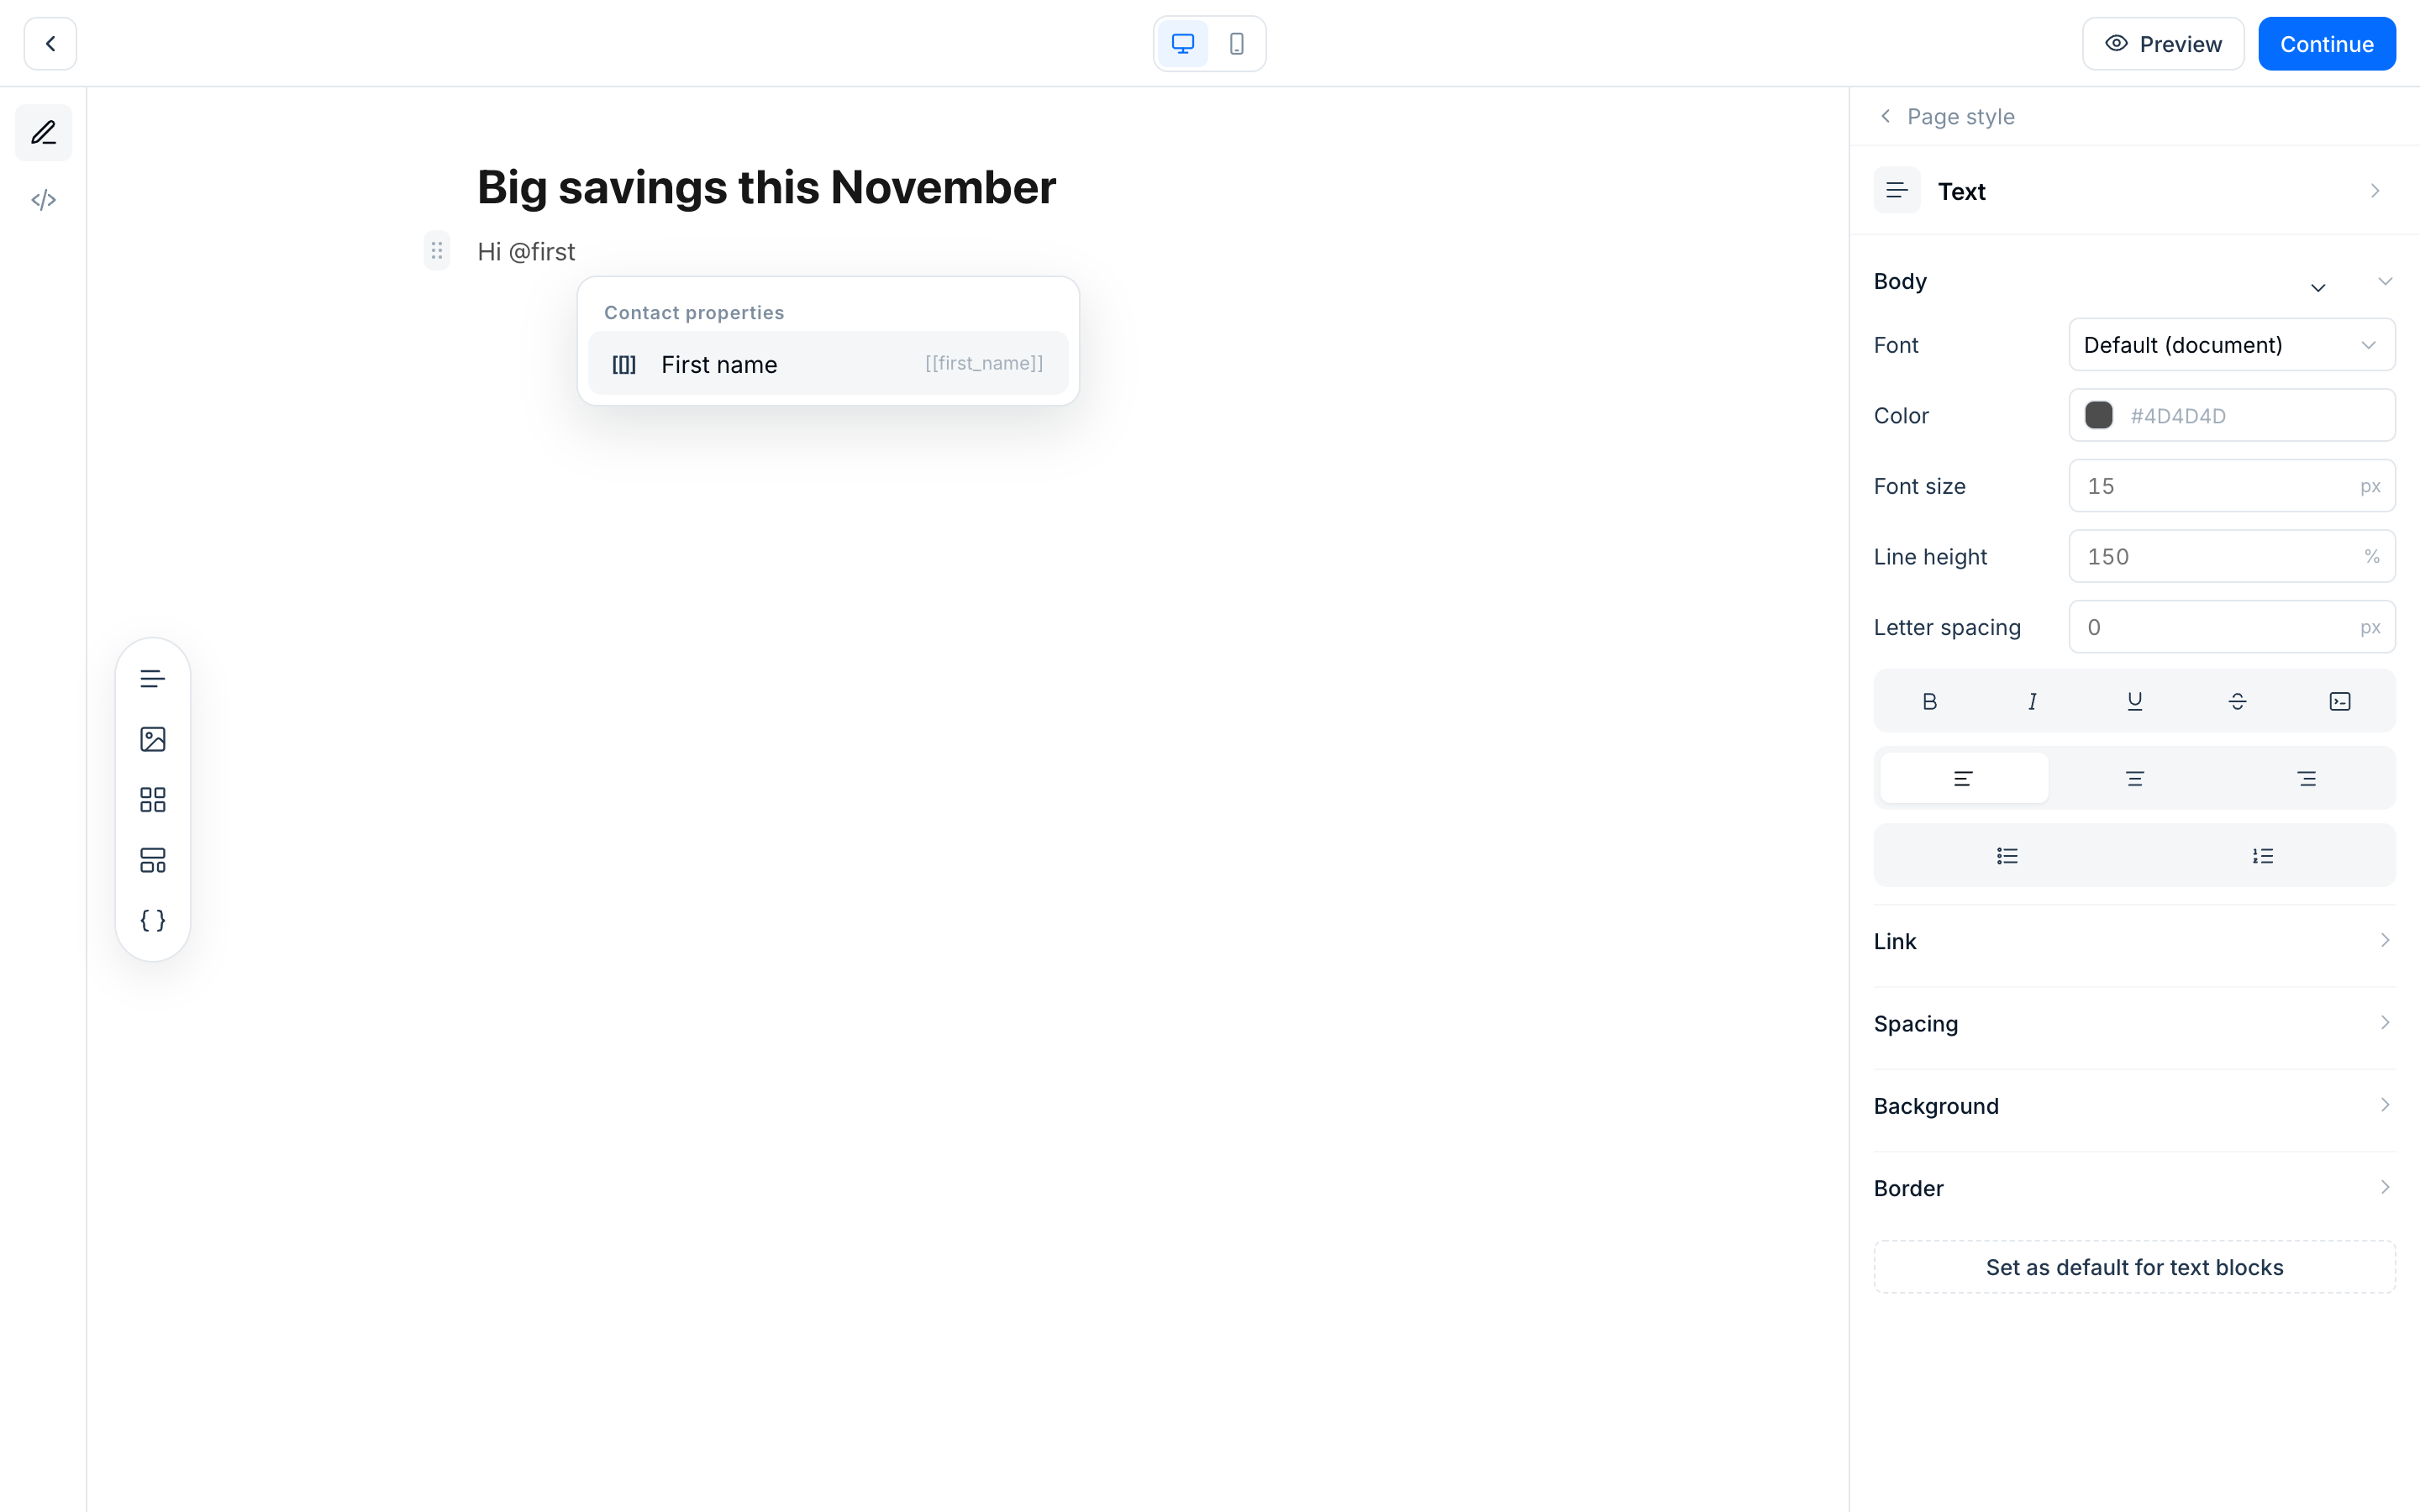
Type @ in any text to insert a contact property such as First name. When the email is sent, each recipient sees their own value.
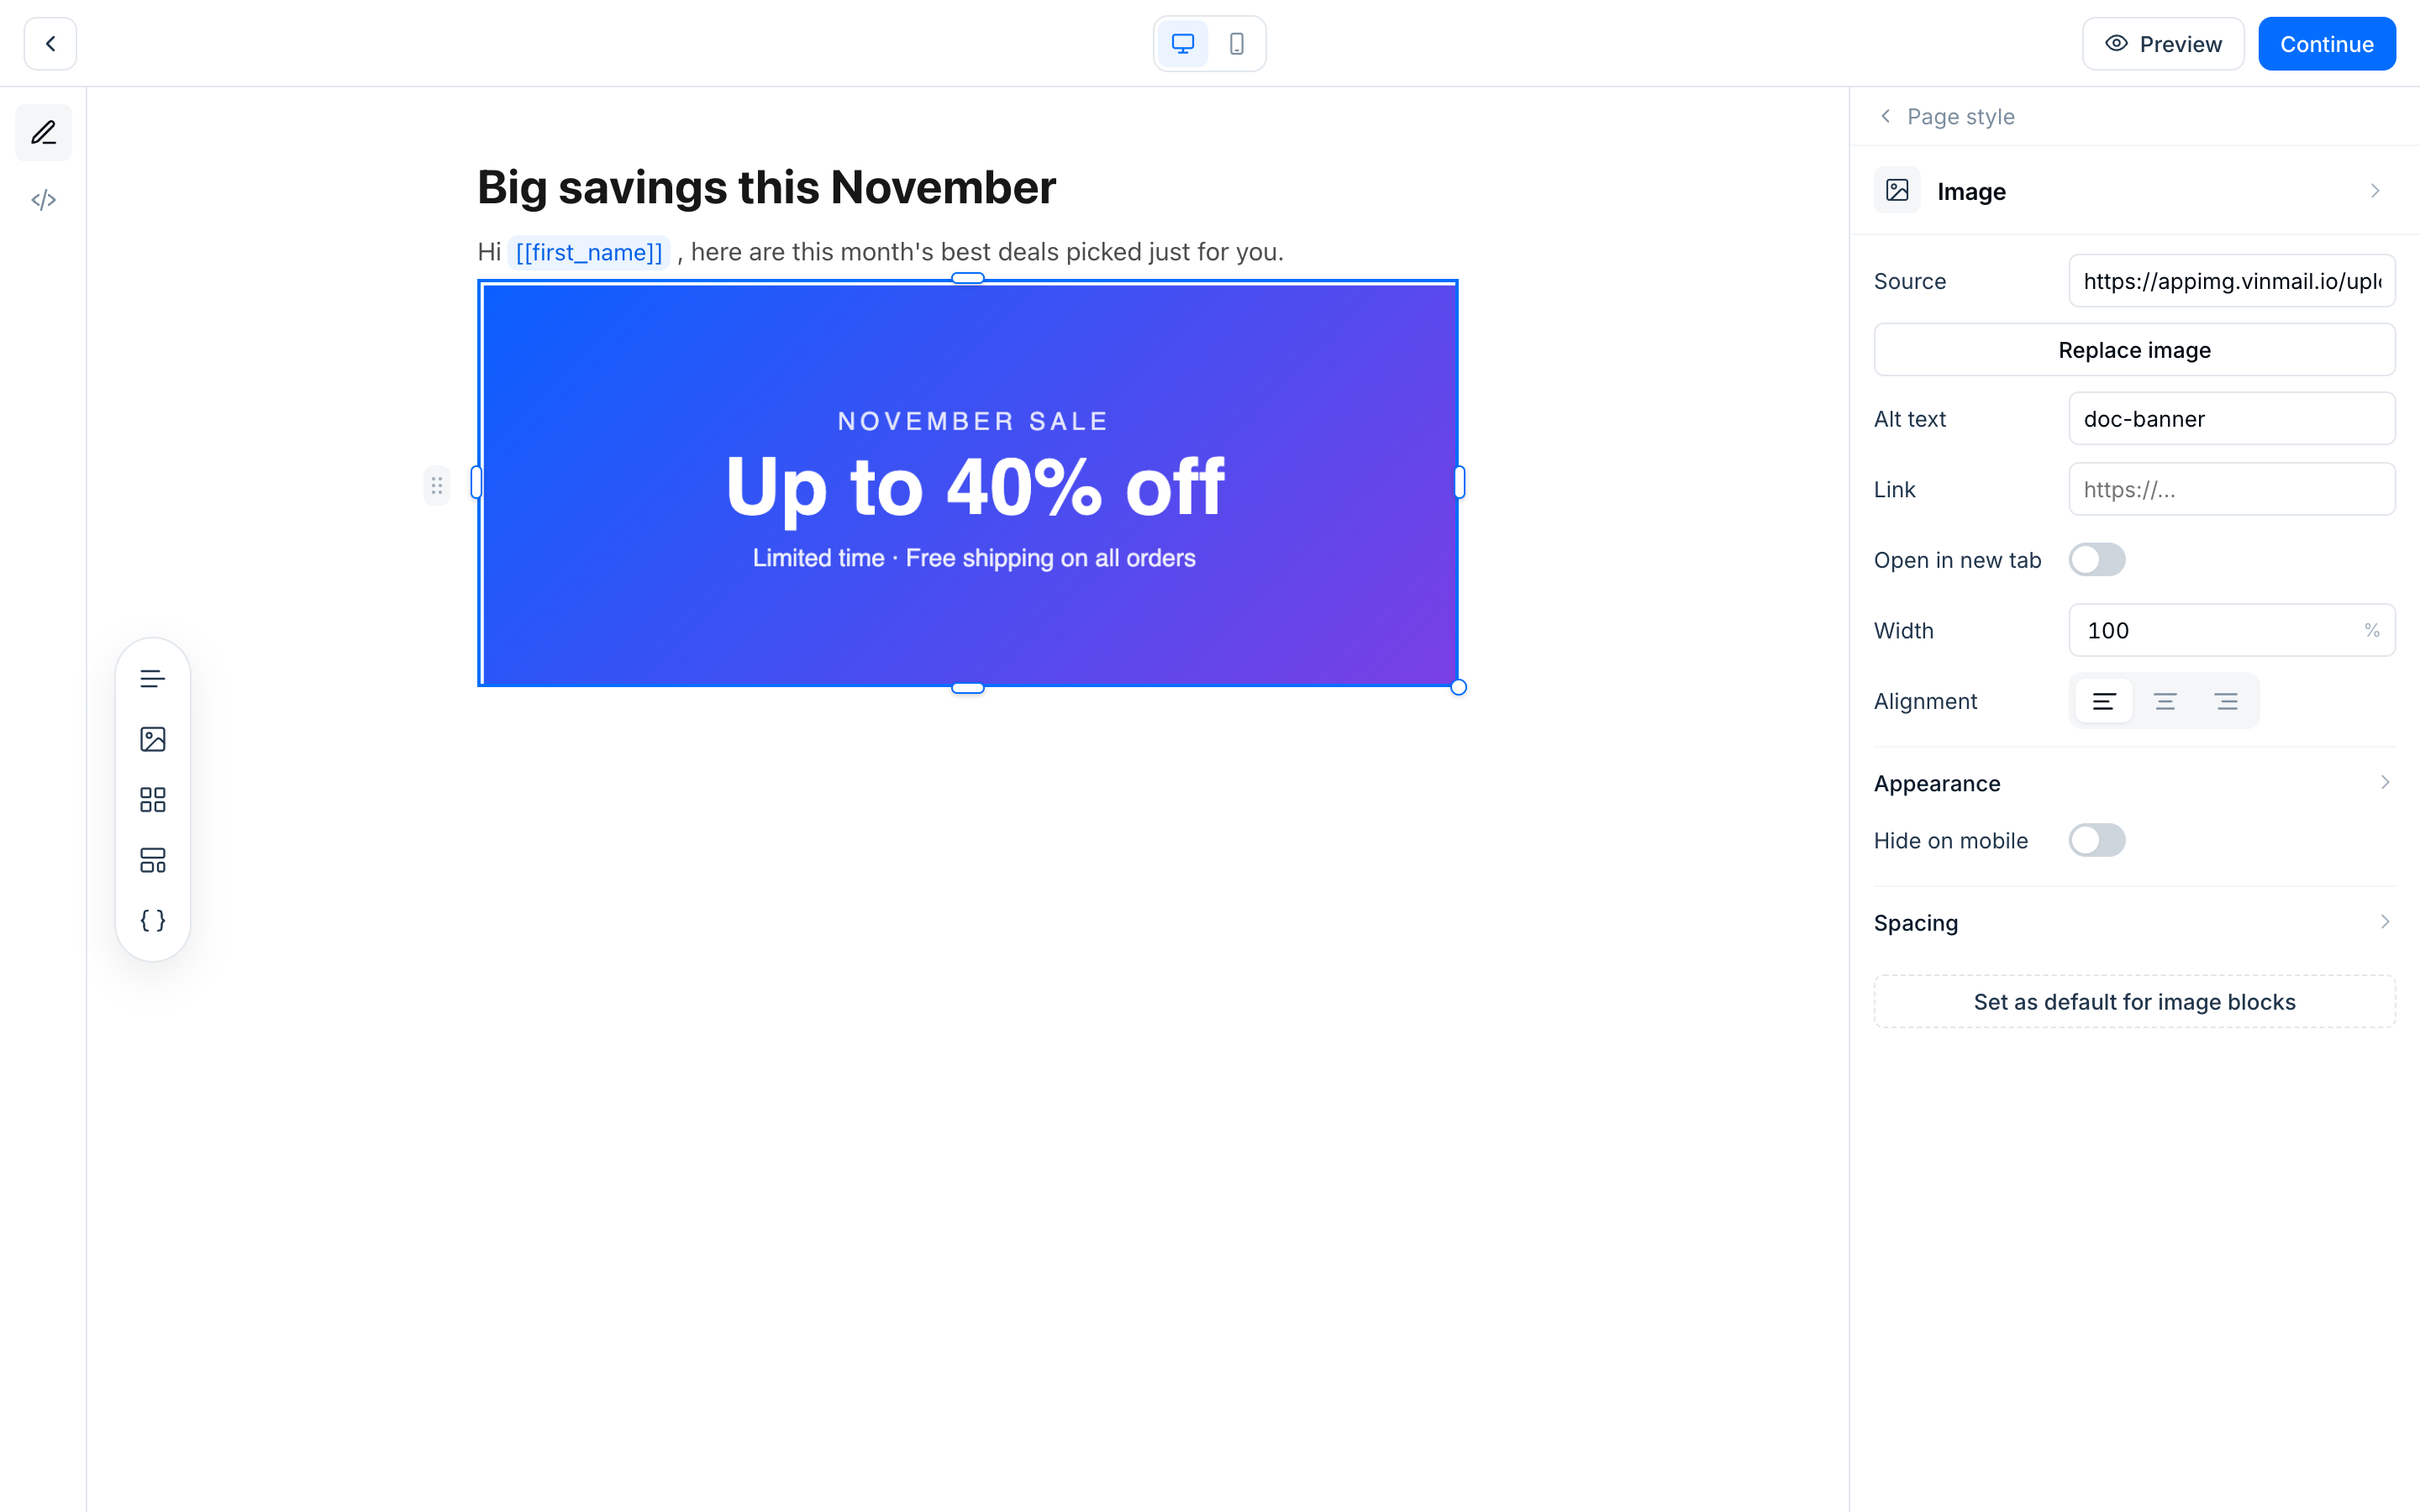
Add an Image block, then upload a file or paste an image URL. In the right panel you can:
Replace the image.
Set alt text and a click-through link.
Change the width and alignment.
Hide the image on mobile.
Add a Button block and type its label. In the right panel, set:
The link.
The colours and alignment.
The size.
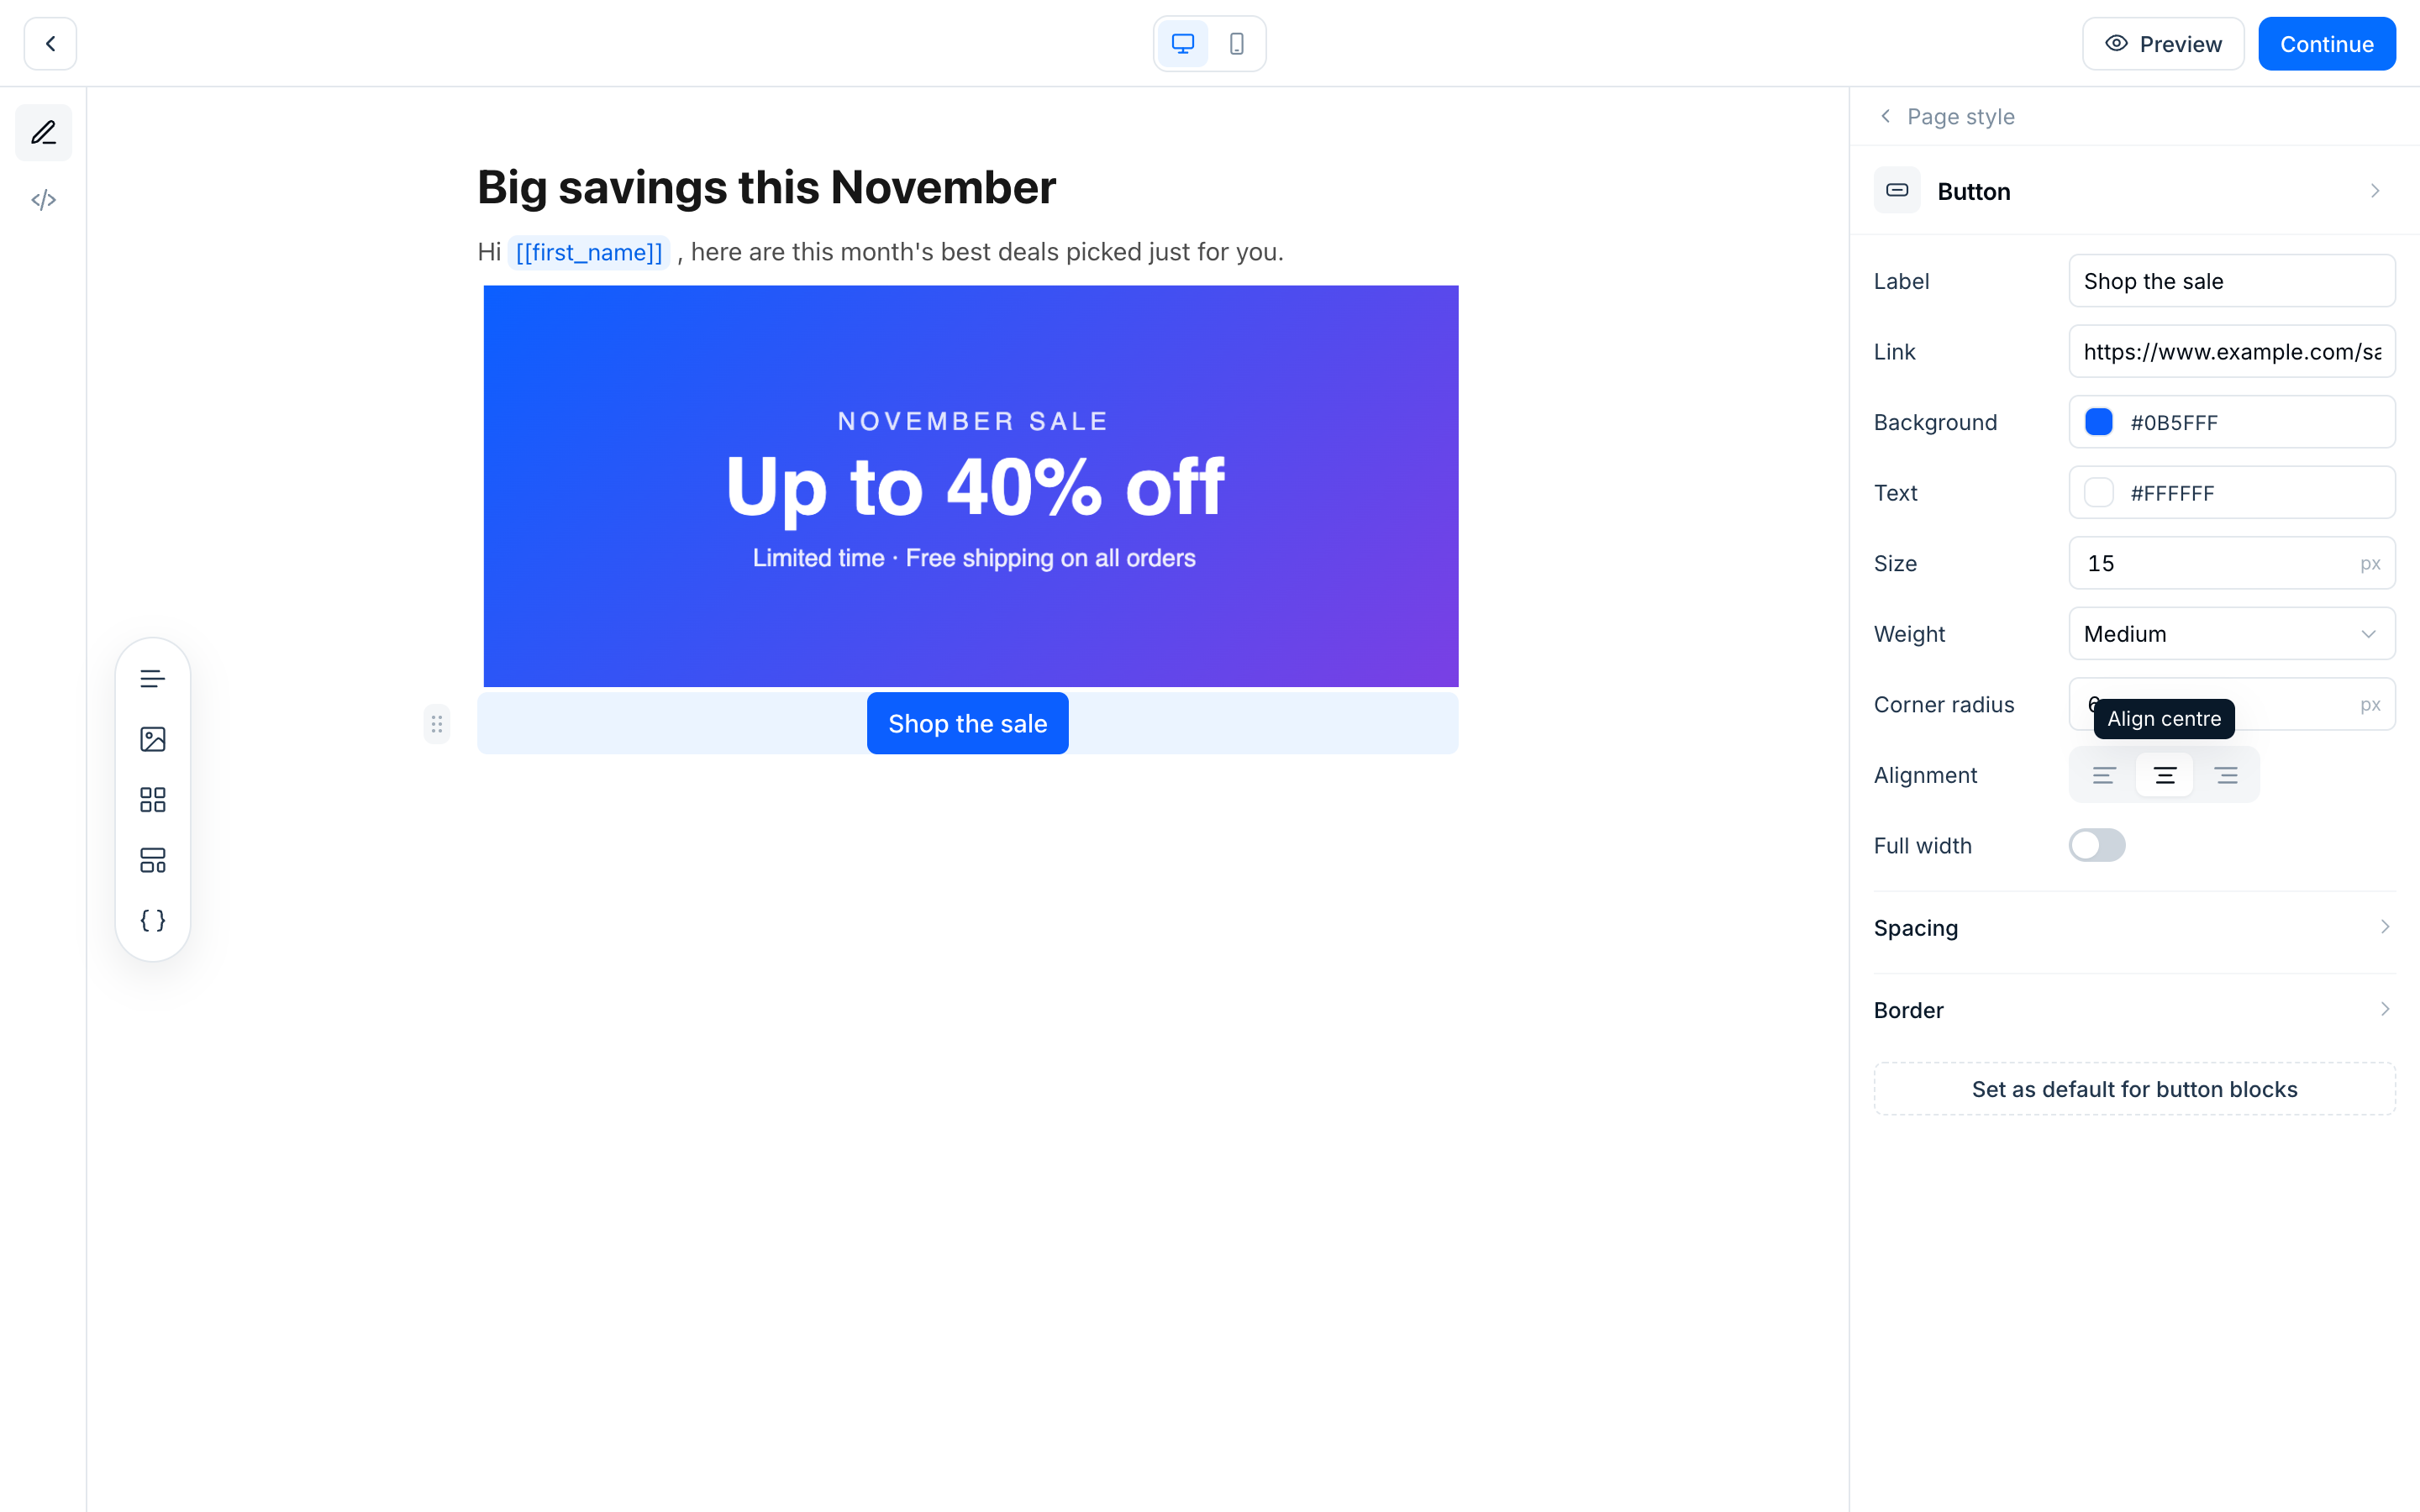
Tip: to make every new block of the same type look the same, click Set as default for … blocks in the right panel.
Use the Social block for your social profile links, and Dividers and Spacers to separate sections.
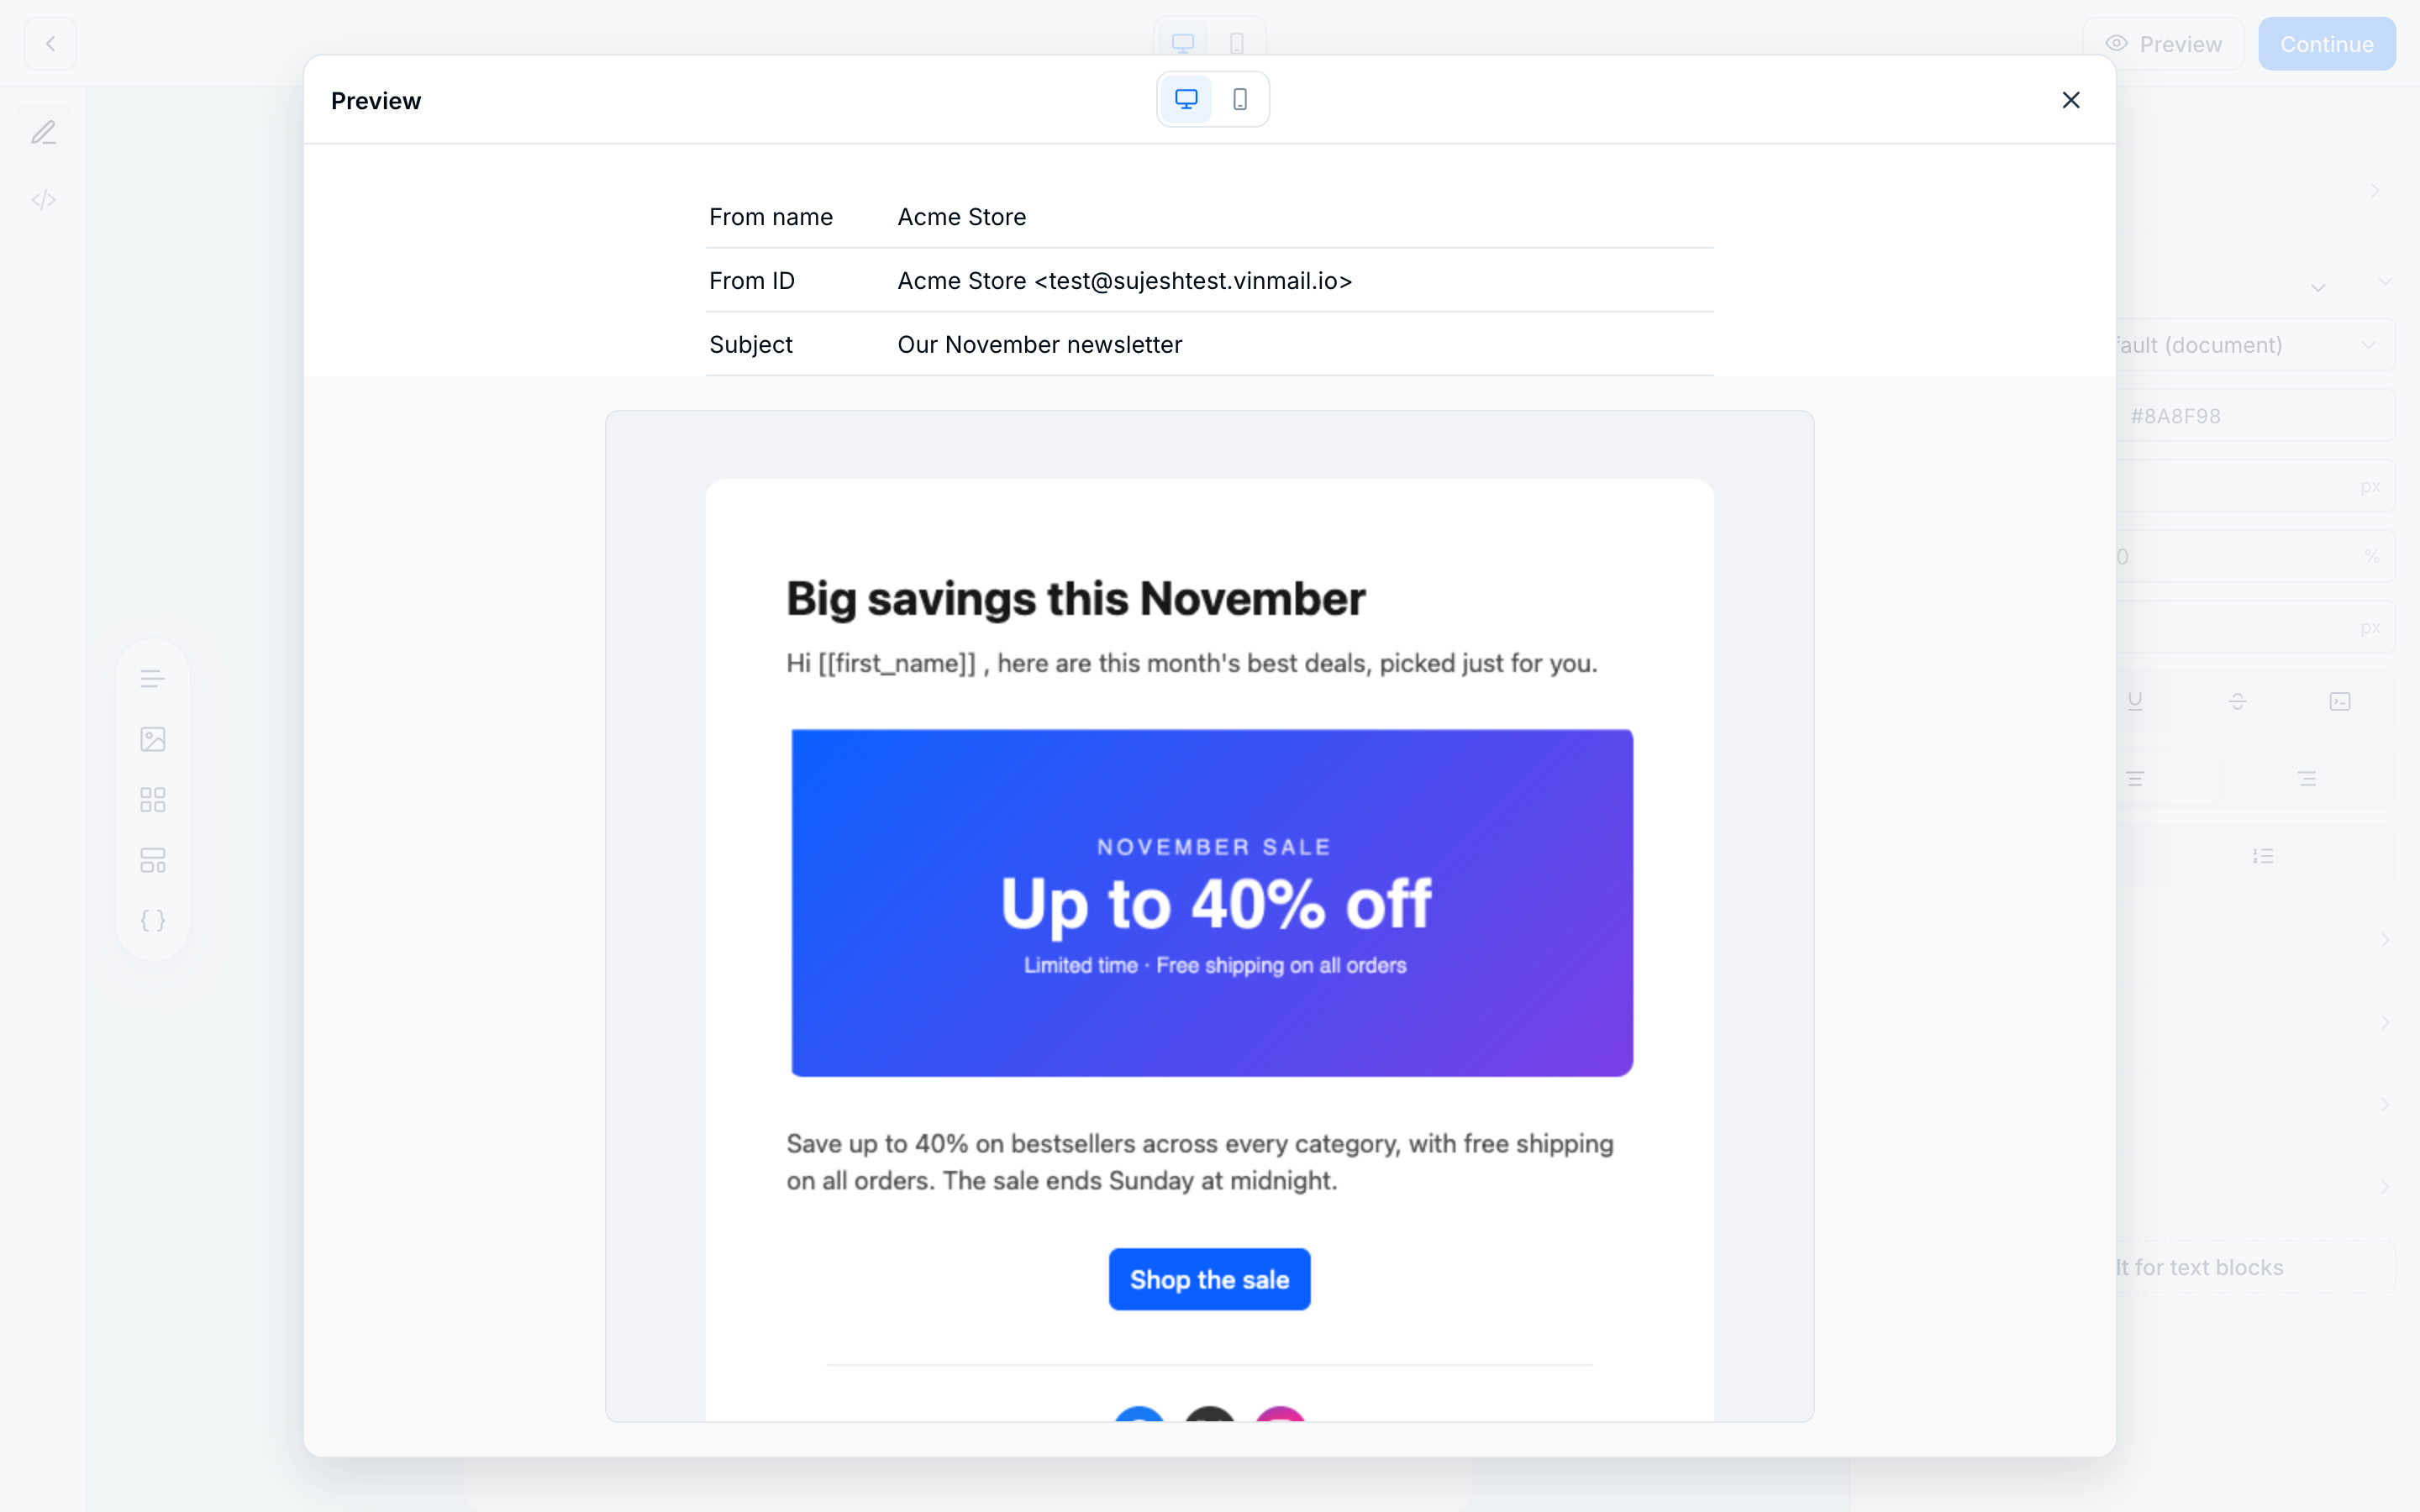
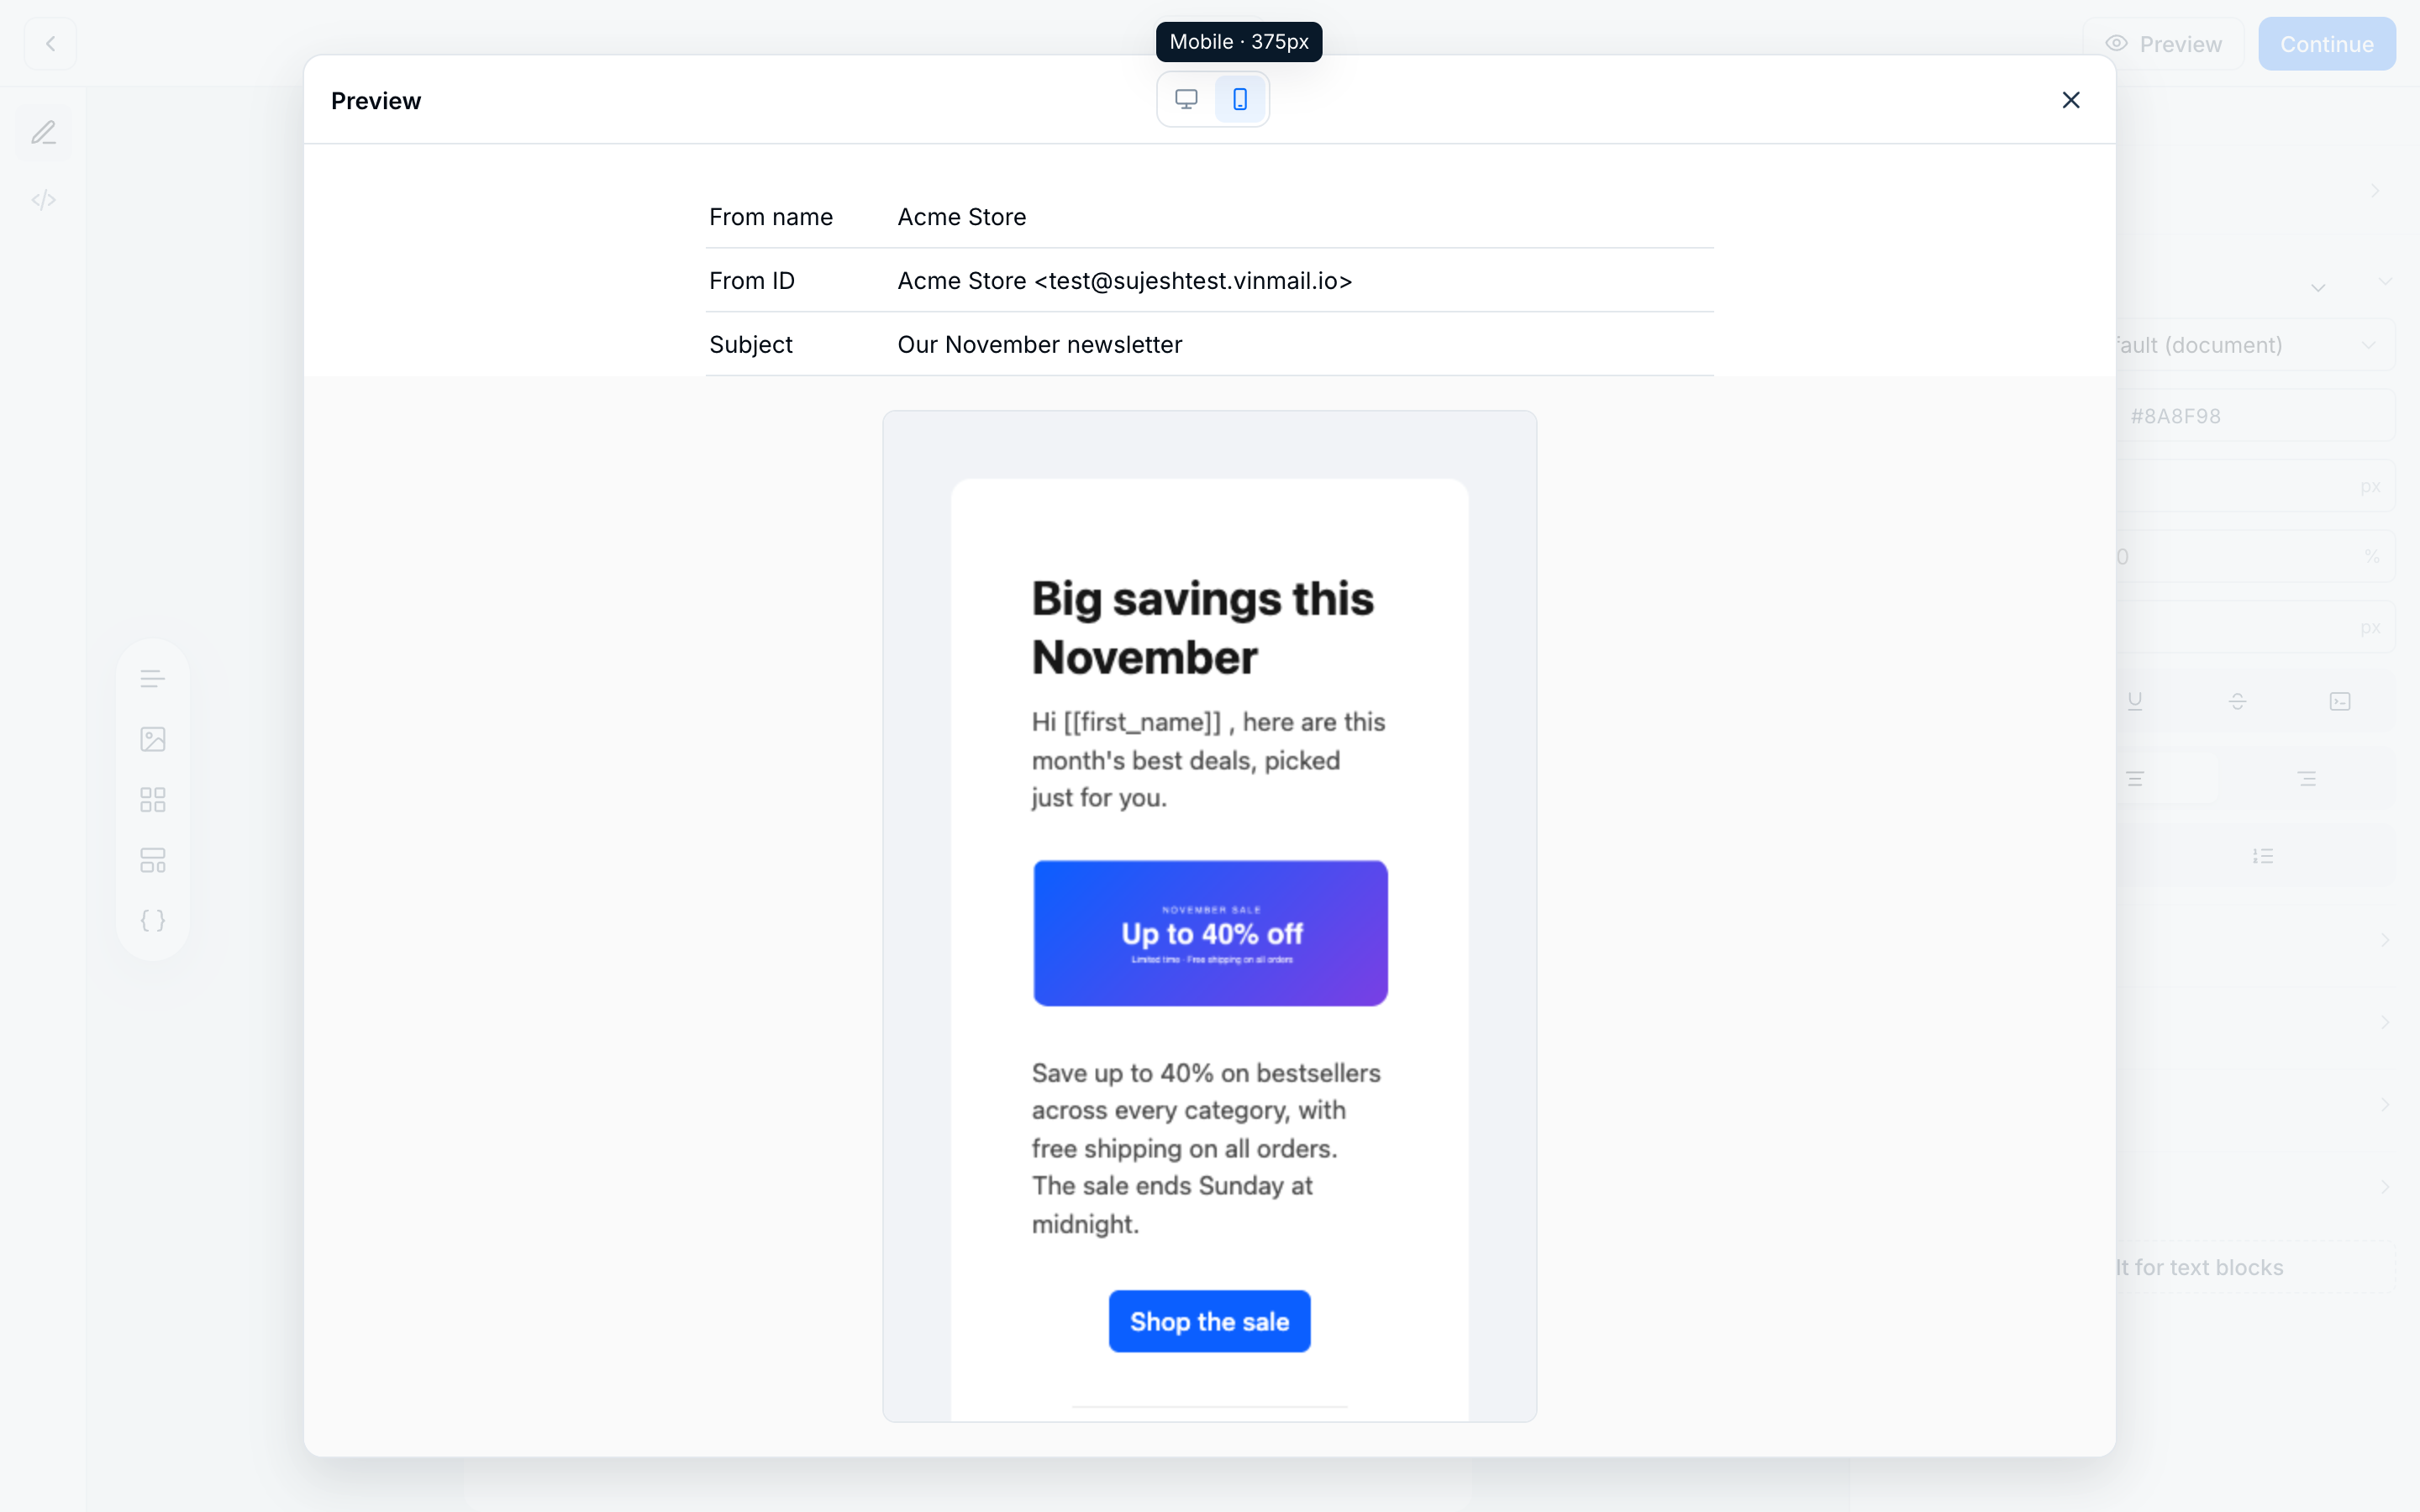
Click Preview to see the email as recipients will. Use the toggle to switch between desktop and mobile.
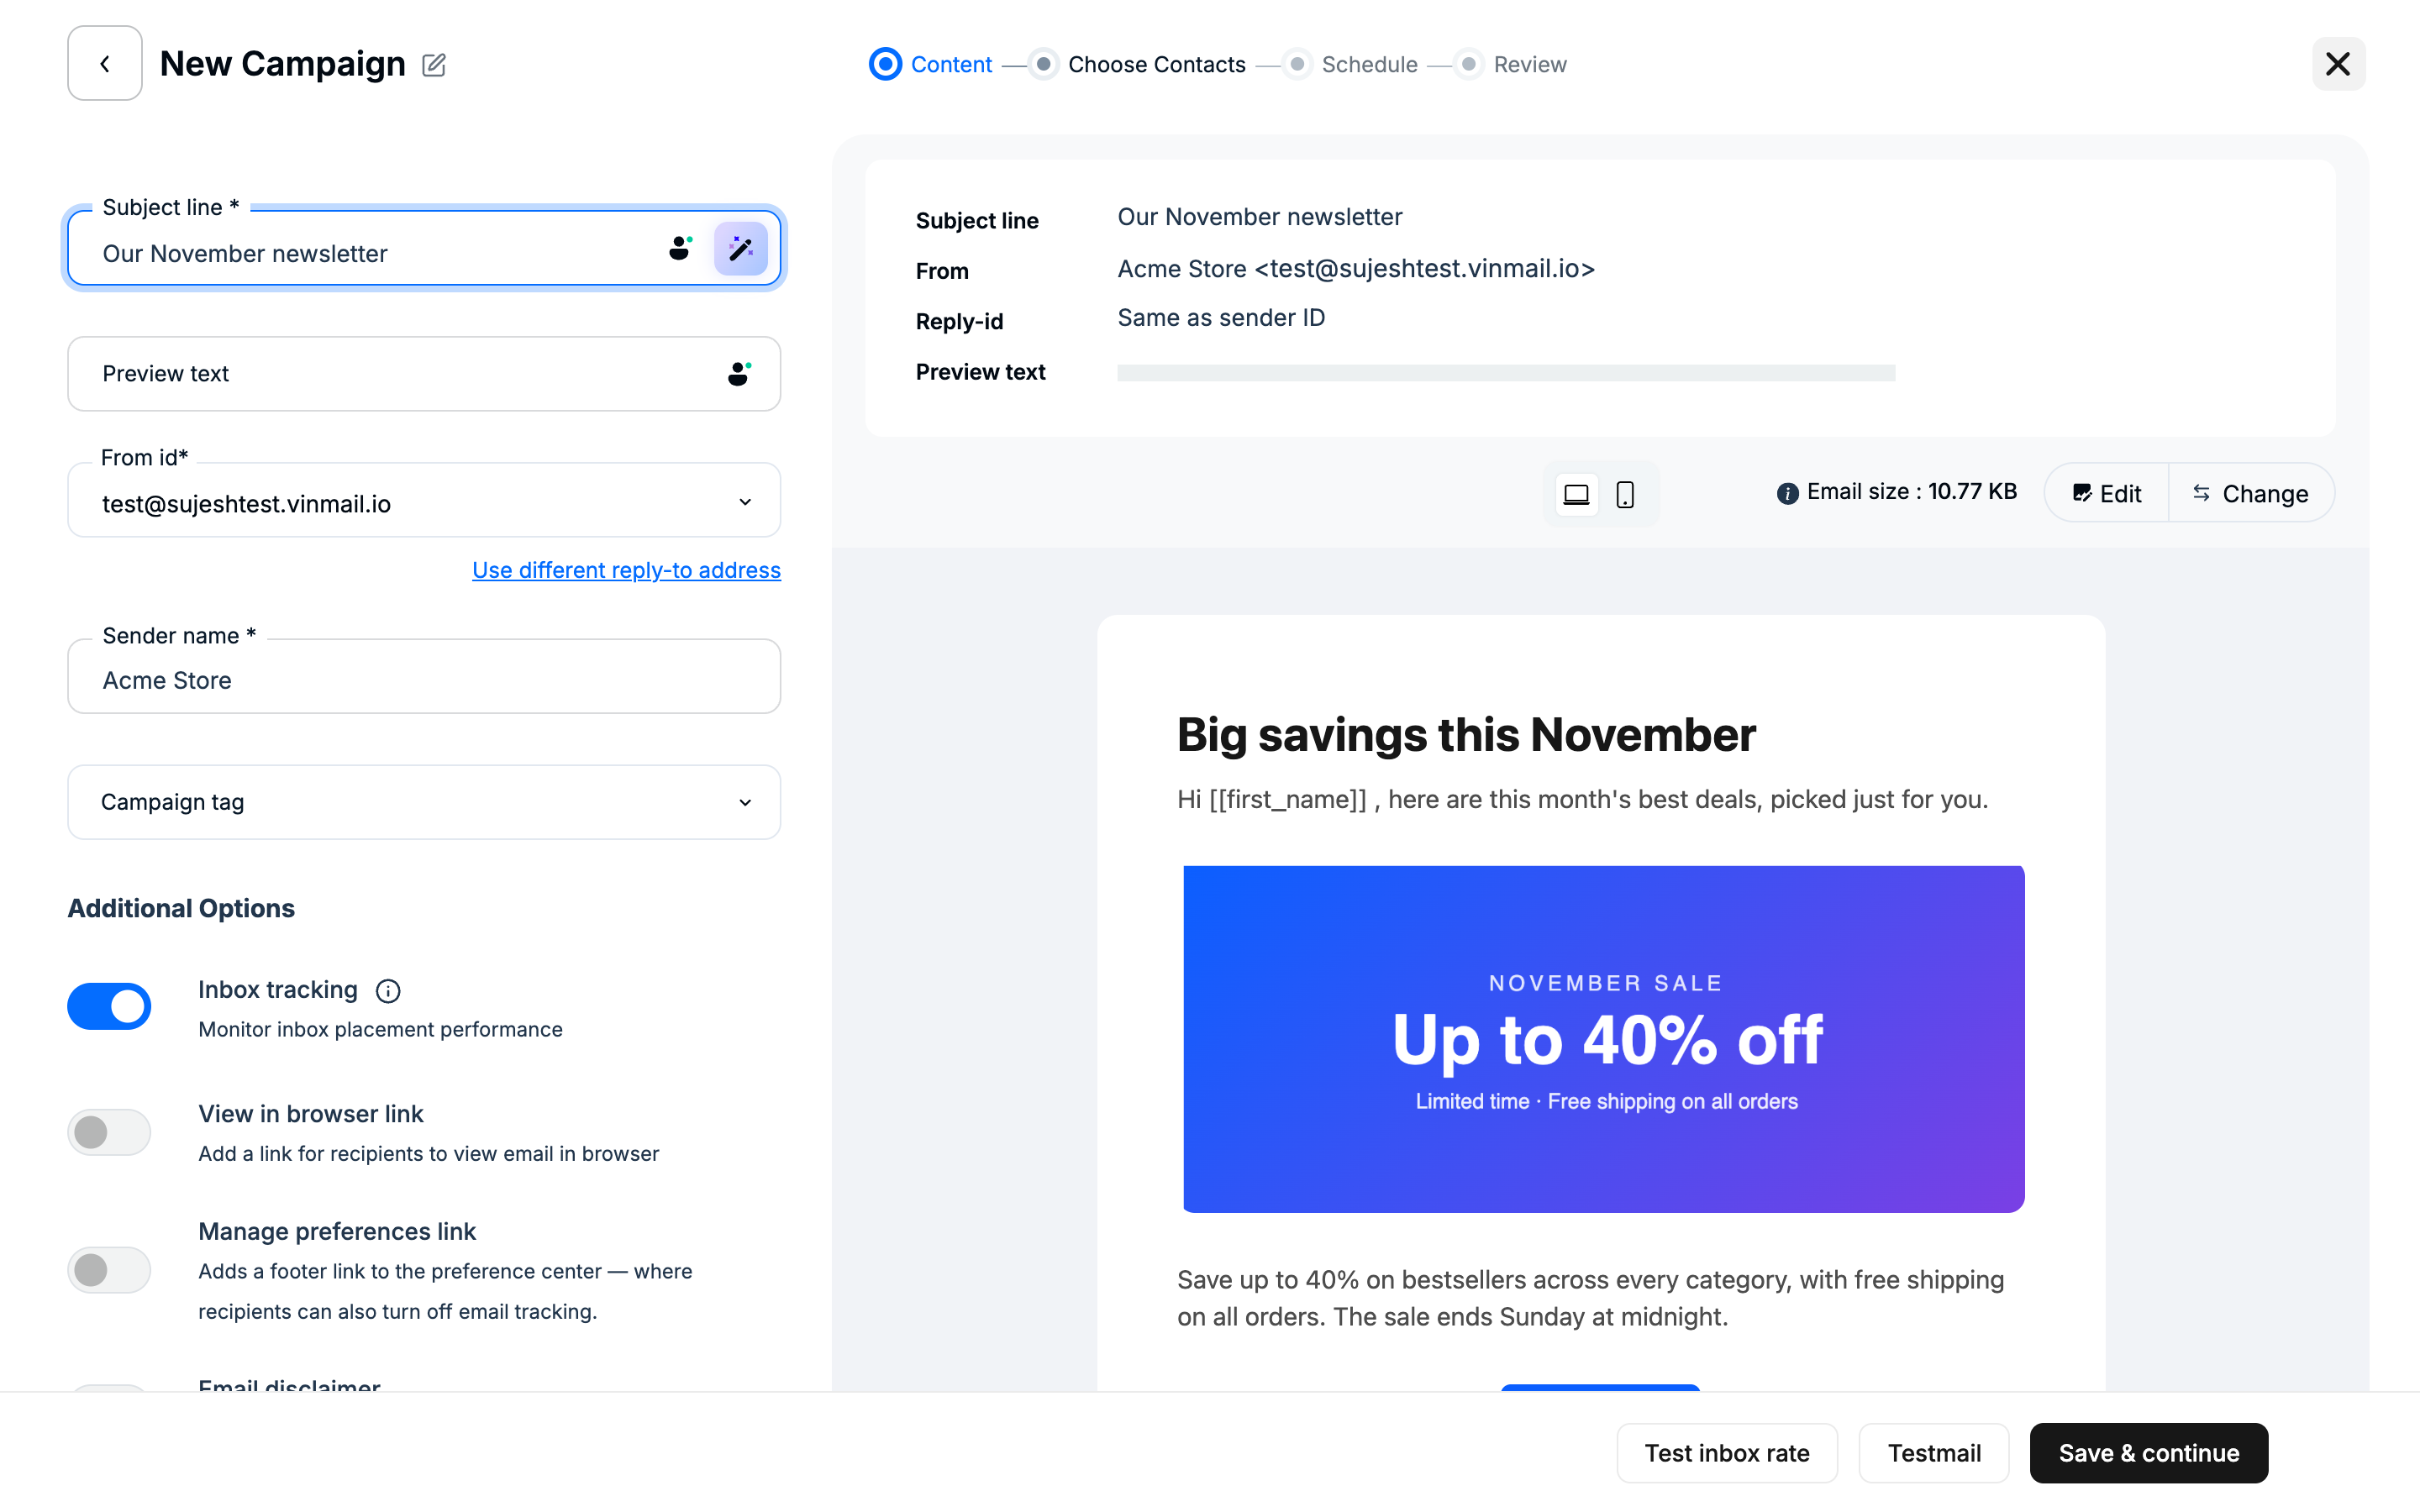
When the design is ready, click Continue. Your design is saved and you return to the campaign, where the content step shows a preview. Then carry on to Choose Contacts, Schedule and Review.
Good to know
Your work saves automatically while you edit.
To edit the HTML directly, use the code view (</>) in the left rail.
To change the font, colours and background for the whole email, click an empty area of the canvas to open Page style.