Follow these steps to add a wait-for-trigger rule to your customer journey:
Log in to your MailerCloud account and navigate to the "Automation" section.
Select the automation campaign in which you want to add the wait-for-trigger rule.
Look for the Blue Plus button and click on it. From the dropdown menu, choose "Wait for Trigger".
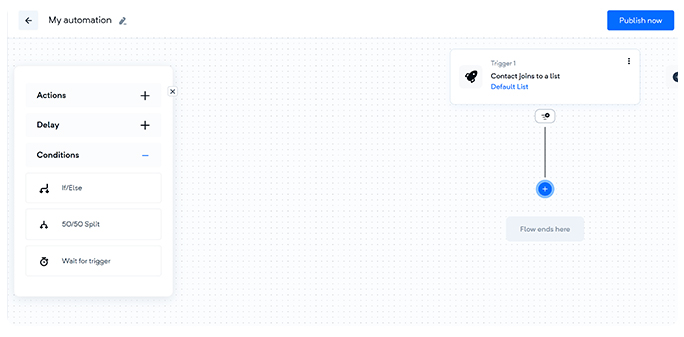
In the "Wait for Trigger" settings, you will have several trigger options to choose from. Select the appropriate trigger type based on your requirements. The available options include "Any list's contacts property value changes," "Opened Email," "Non-opened email," or "Clicked email." If you intend to target contacts who haven't opened your email yet, make sure to select the "Non-opened email" option.
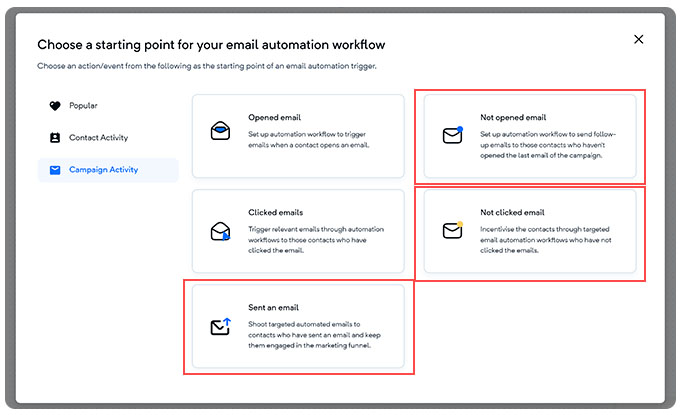
Please note that the "Not clicked and not opened" trigger has a mandatory waiting time, which starts once the campaign concludes. The minimum waiting time for this trigger is one hour, so consider this duration while setting up your campaign.
Click on the "Save & Continue" button to add the wait-for-trigger rule to your automation campaign.
Finally, click on the "Save & Continue" button again to ensure the wait-for-trigger rule is successfully added to your automation campaign.
By incorporating the wait-for-trigger rule into your customer journey, you can create personalized and dynamic experiences for your contacts. This ensures they progress through the campaign at the right time based on their actions and behaviour. If you have any further questions or need assistance, please don't hesitate to contact our support team.