A conversion pixel is a powerful feature within the Mailercloud platform that allows you to track and measure the success of your email campaigns. You will receive a unique code in your preferred format by adding a conversion pixel. This code must be copied and pasted onto your confirmation or success page. Once implemented, whenever a recipient of your email clicks on the action button and completes a desired action, you will receive a notification in the Reports section of your Mailercloud account.
Let's take an example of an e-commerce business. Adding the conversion pixel code to your success page lets you track and monitor customer purchases resulting from your email campaigns. You will be notified when a customer clicks on your email campaign and makes a final purchase on your online store. This successful purchase will be recorded as a conversion and visible in your Mailercloud account's Reports section.
To add a conversion pixel, follow these steps:
Log in to your Mailercloud account.
Click on your Profile icon located at the bottom left corner.
Select "Account" from the options.
Click on "Settings."
Choose "Conversion Pixel."
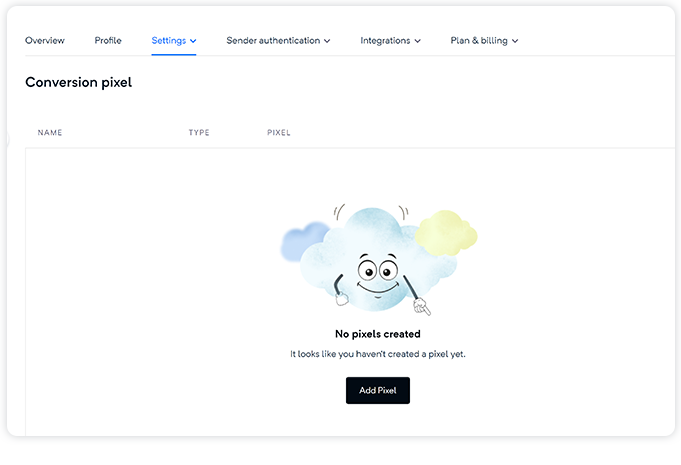
Click on the "Add pixel" button.
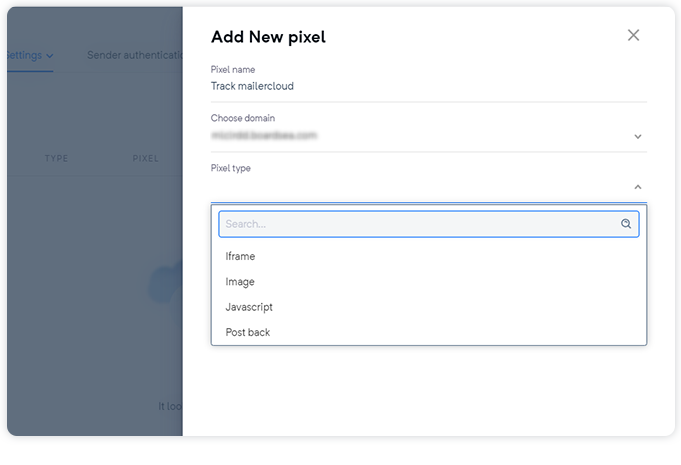
Enter the pixel name, select the domain, and the pixel type.
Click on the "Generate" button.
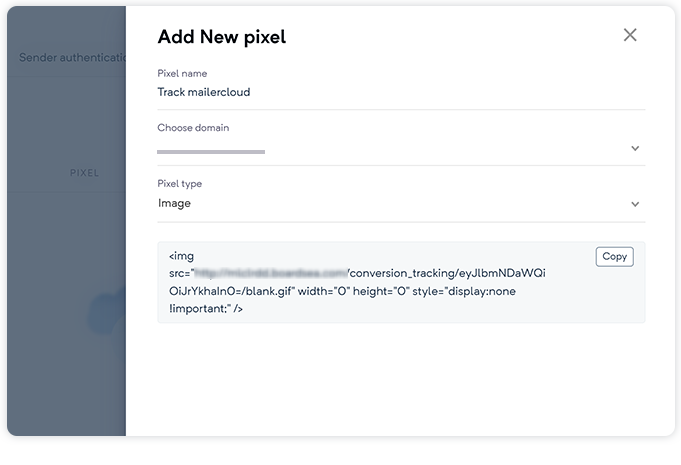
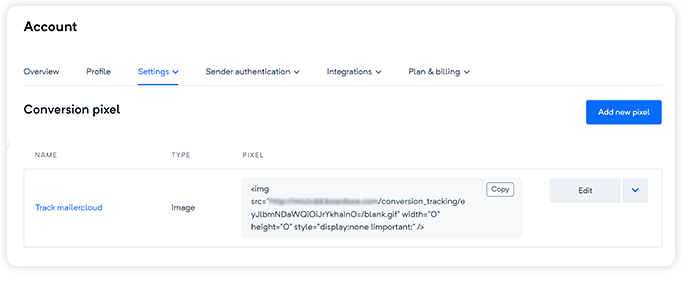
Copy the unique pixel code.
Go to the Campaigns section in the left slider menu of the Mailercloud panel.
Select the type of campaign you want to create, such as regular, automation, or autoresponder.
Click on the "Create Campaign" button.
Fill in the relevant information in the fields, including campaign name, subject line, sender name, and others.
Click on the "Choose Email Template" button.
Customize the template as desired.
Copy and paste the conversion pixel code into the final call-to-action button, which will direct the email recipient to the success page.
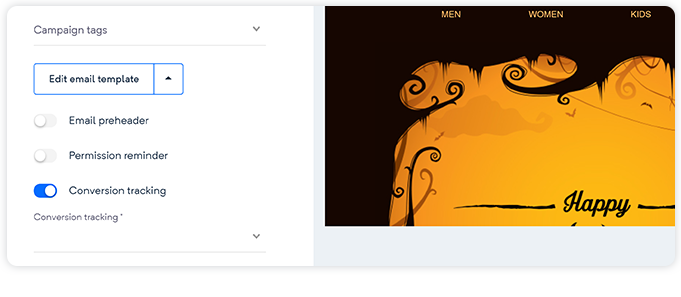
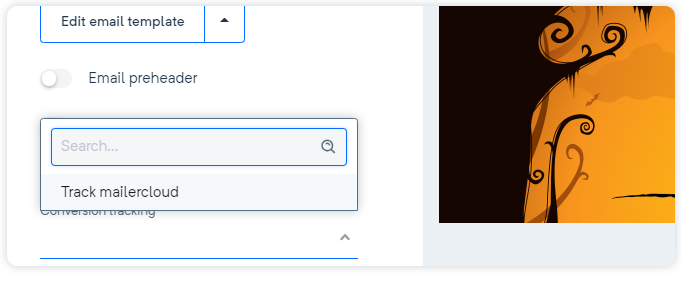
Enable the "Conversion Tracking" option.
Click on the "Continue" button.
Choose the desired contacts, review your campaign, and publish it.
Once you have added the conversion pixel code to your success page or confirmation page, you can easily track the total conversions. The conversion data will be visible under the Reports section of your Mailercloud account. This will provide valuable insights into the effectiveness of your email campaigns and help you make informed decisions for future optimizations.
If you have any further questions or need assistance with the conversion pixel feature, please get in touch with our support team. We are here to help you maximize the success of your email marketing campaigns using Mailercloud.