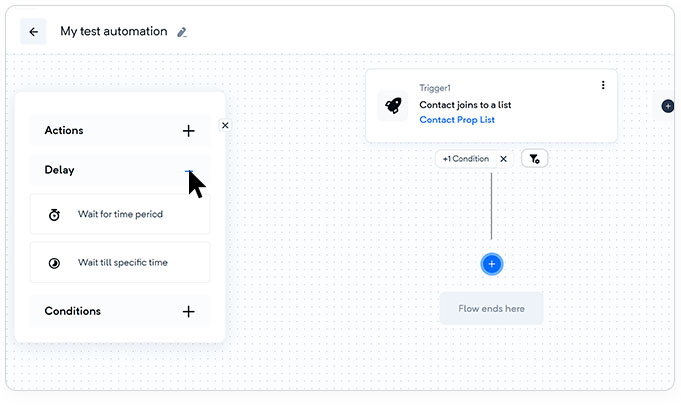
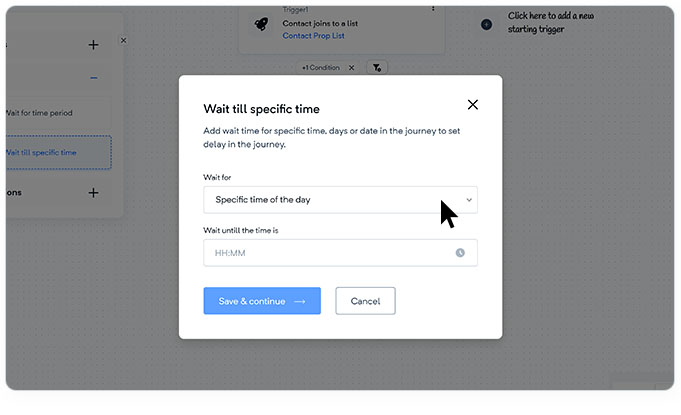
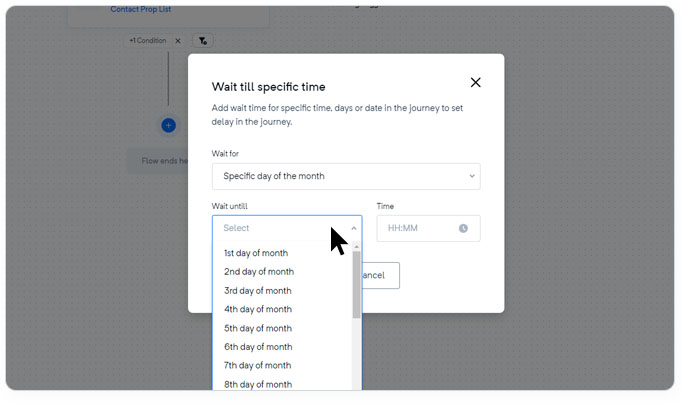
You havIn your email automation campaigns, you have the ability to introduce delays, allowing you to schedule emails to be sent after a specific time period or at a precise time of the day, month, or year.
Follow these steps to incorporate delays into your automation flow:
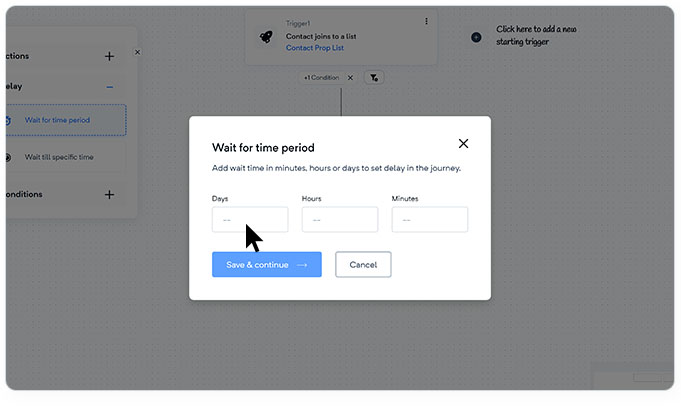
You can add a delay in minutes, hours, or days to introduce a specific time gap within the journey. By setting a wait time, you can control when the next email in the automation flow will be triggered. This enables you to pace your emails and create a well-timed sequence of communication.
You can add a delay in minutes, hours, or days to introduce a specific time gap within the journey. By setting a wait time, you can control when the next email in the automation flow will be triggered. This enables you to pace your emails and create a well-timed sequence of communication.

By leveraging these delay options, you can strategically time your emails to maximize their impact and ensure they reach your audience when they are most likely to engage. This level of control enhances the effectiveness of your email automation by delivering messages precisely when they are most relevant and likely to resonate with your contacts.
If you have any further questions or need assistance, please don't hesitate to reach out to our support team."