An advanced email automation workflow in Mailercloud is a series of emails that are automatically sent based on specific events, dates/times, campaign activities, or subscriber activities. With Mailercloud, you can create highly customized email automation workflows that include multiple trigger points, delays, conditions, and more.
To make the process easier, Mailercloud also provides a range of predefined templates. These templates are designed for different purposes and can be used as a starting point for your automation. They help streamline the workflow creation process, saving you time and effort.
Step 1: Log in to your Mailercloud account.
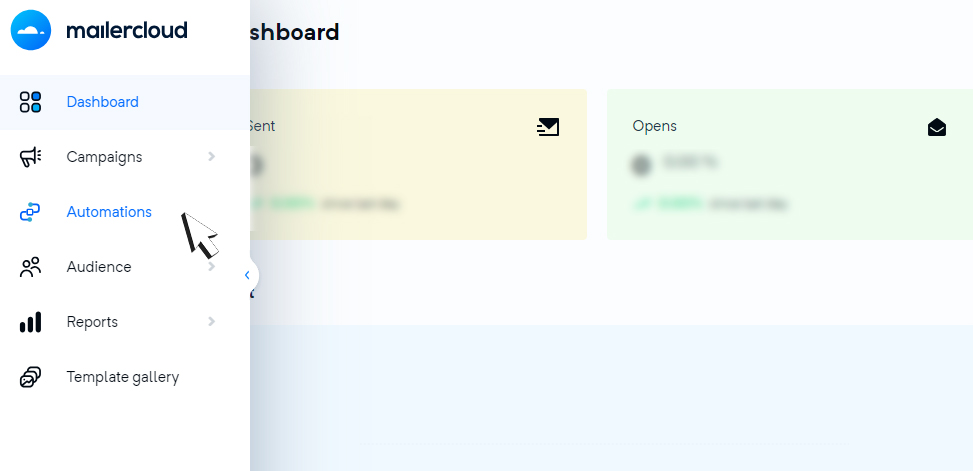
Step 2: On the left-side menu bar, click on "Automations."
Step 3: Click on "Create Automation." Provide a name for your automation workflow, choose the "Advanced" option, and click on "Create Flow."

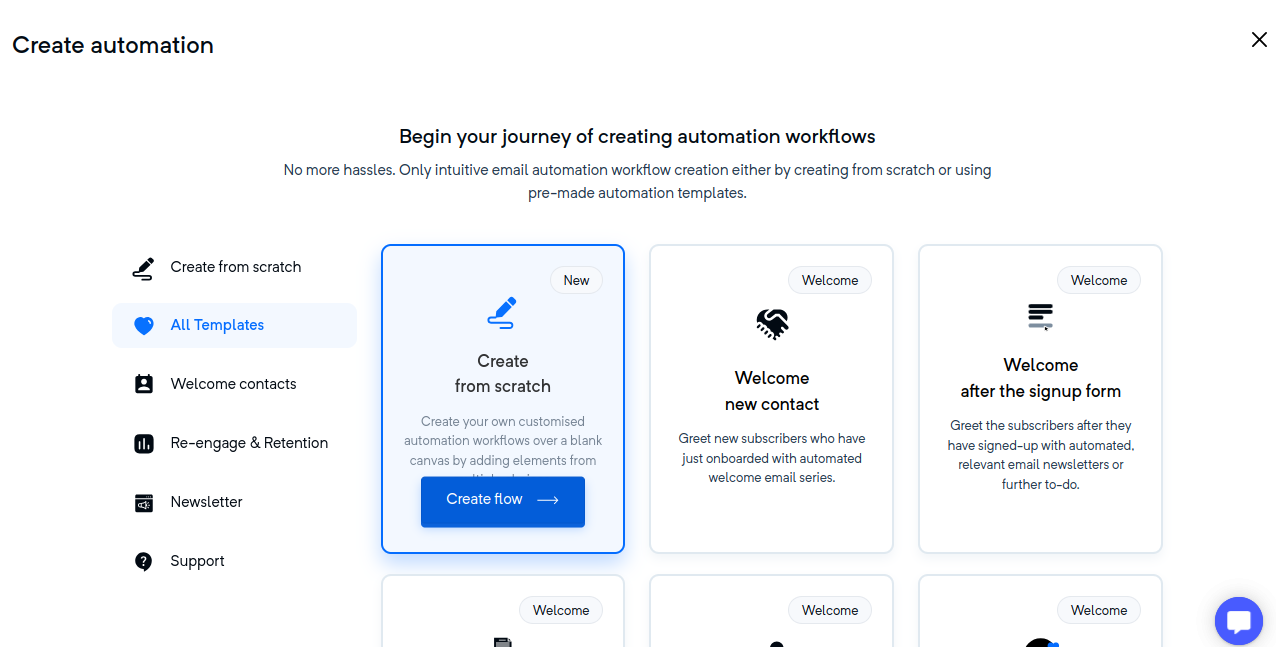
Step 4: Once you click on "Create Flow," you will be directed to the "Create Automation" page. Here, you have two options "Create from Scratch” and “Use any predefined template”
If you select "Create from Scratch," you will be taken directly to the automation creation page, where you can build your own customized automation from scratch.
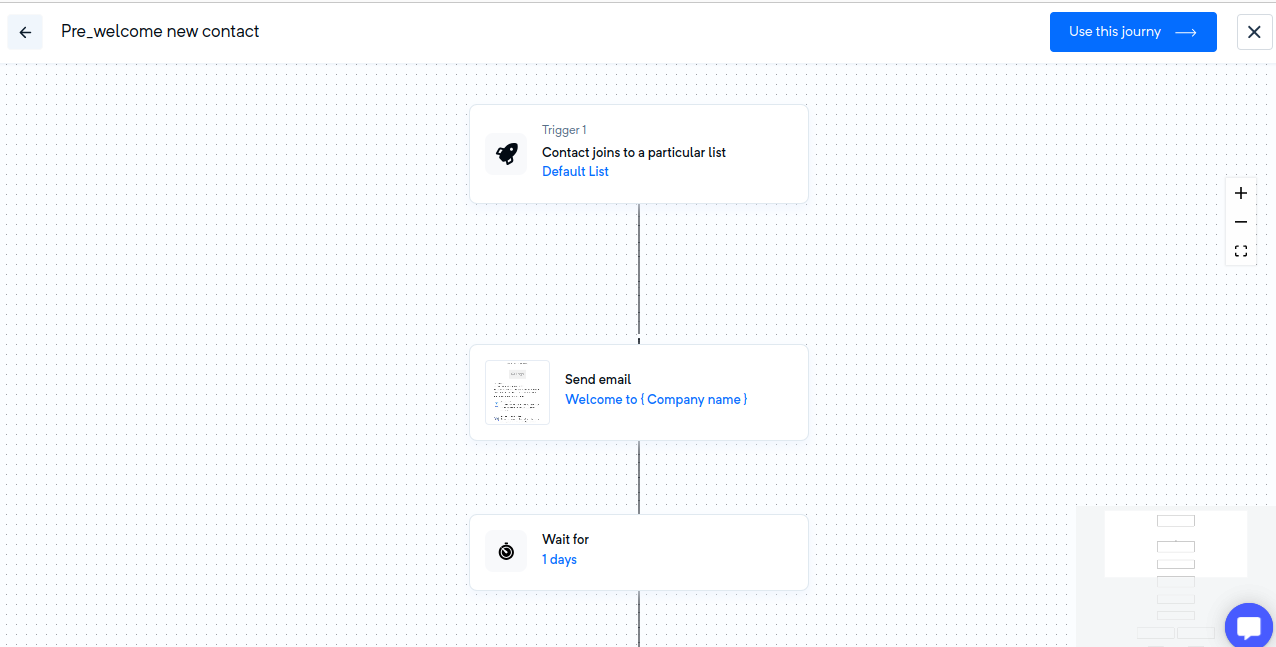
If you select any predefined template, you will be directed to a preview page. If you are satisfied with the template, click on "Use This Journey" to proceed to the automation flow editor. In the editor, you can further customize the selected template to suit your specific needs before publishing.
Step 5: After customizing your automation, you can publish it. Your automation will now run according to the defined settings. You can also pause, edit, deactivate, or duplicate the automation flows as needed.
Select the automation rule that determines when emails will be sent in the workflow.
This trigger is activated when a contact opens an email.
You can choose:
Specific campaign – Trigger the automation when a particular campaign is opened.
Any campaign – Trigger the automation when the contact opens any campaign email.
Once triggered, you can send the next email immediately or set a waiting period (in days) before sending it.
This trigger is activated when a contact does not open an email.
You can configure the next email to be sent after the default waiting period of 1 day, or specify the number of days before sending it.
This trigger is activated when a contact clicks a link in an email.
You can configure the trigger in the following ways:
Specific campaign – Trigger when a link is clicked in a selected campaign.
Any campaign – Trigger when a link is clicked in any campaign email.
Specific link click – Use the link picker to select a particular link in the email. The automation will trigger only when that specific link is clicked.
This trigger is activated when a contact opens an email but does not click any links.
If you want the automation to continue for all contacts regardless of their interaction, select the All option.
We hope this guide helps you create advanced email automation workflows efficiently. If you have any further questions, please feel free to contact our support team.